Hi there! We use affiliate links where relevant for products that we love. This means that companies say, “hey thanks for telling people about us!” by giving us a small commission as a result (Trust us, guys, it’s SMALL!) That being said, our opinions are always our own. Thanks for reading!
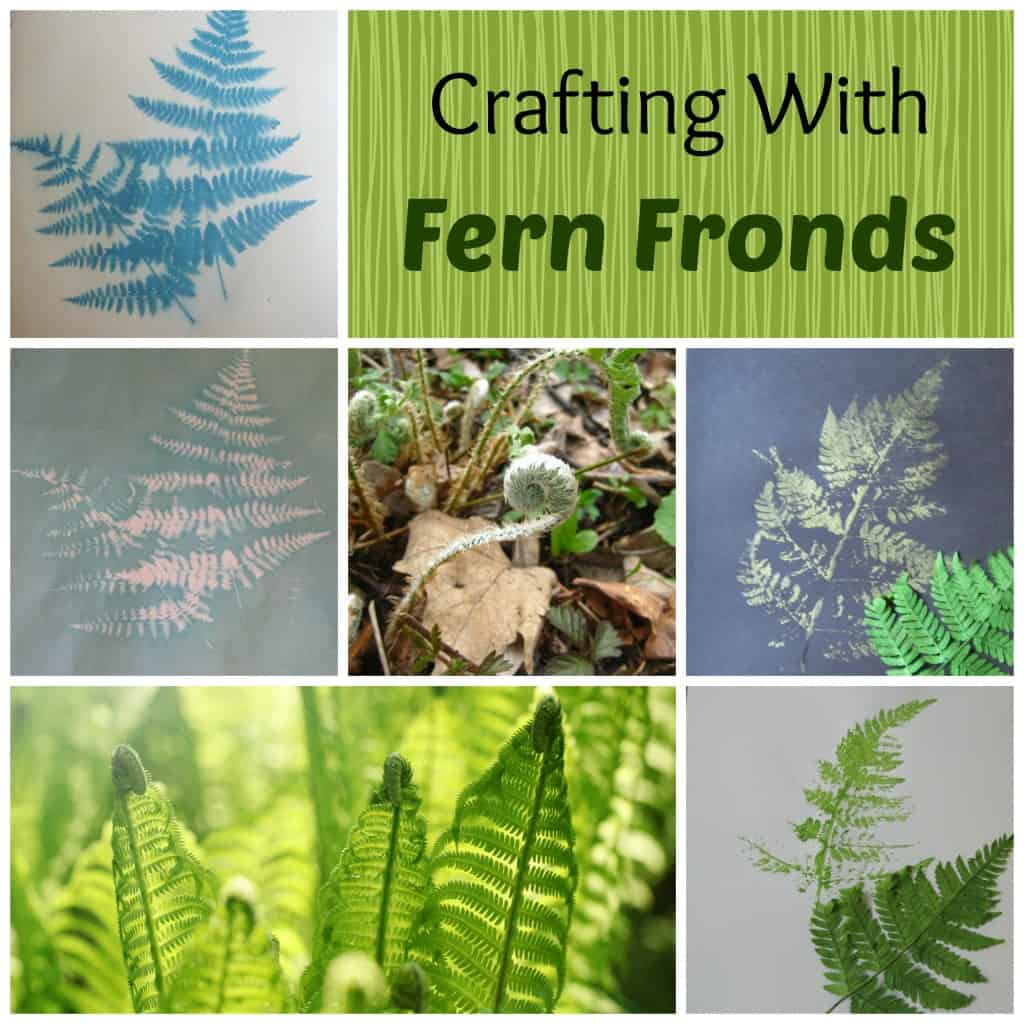
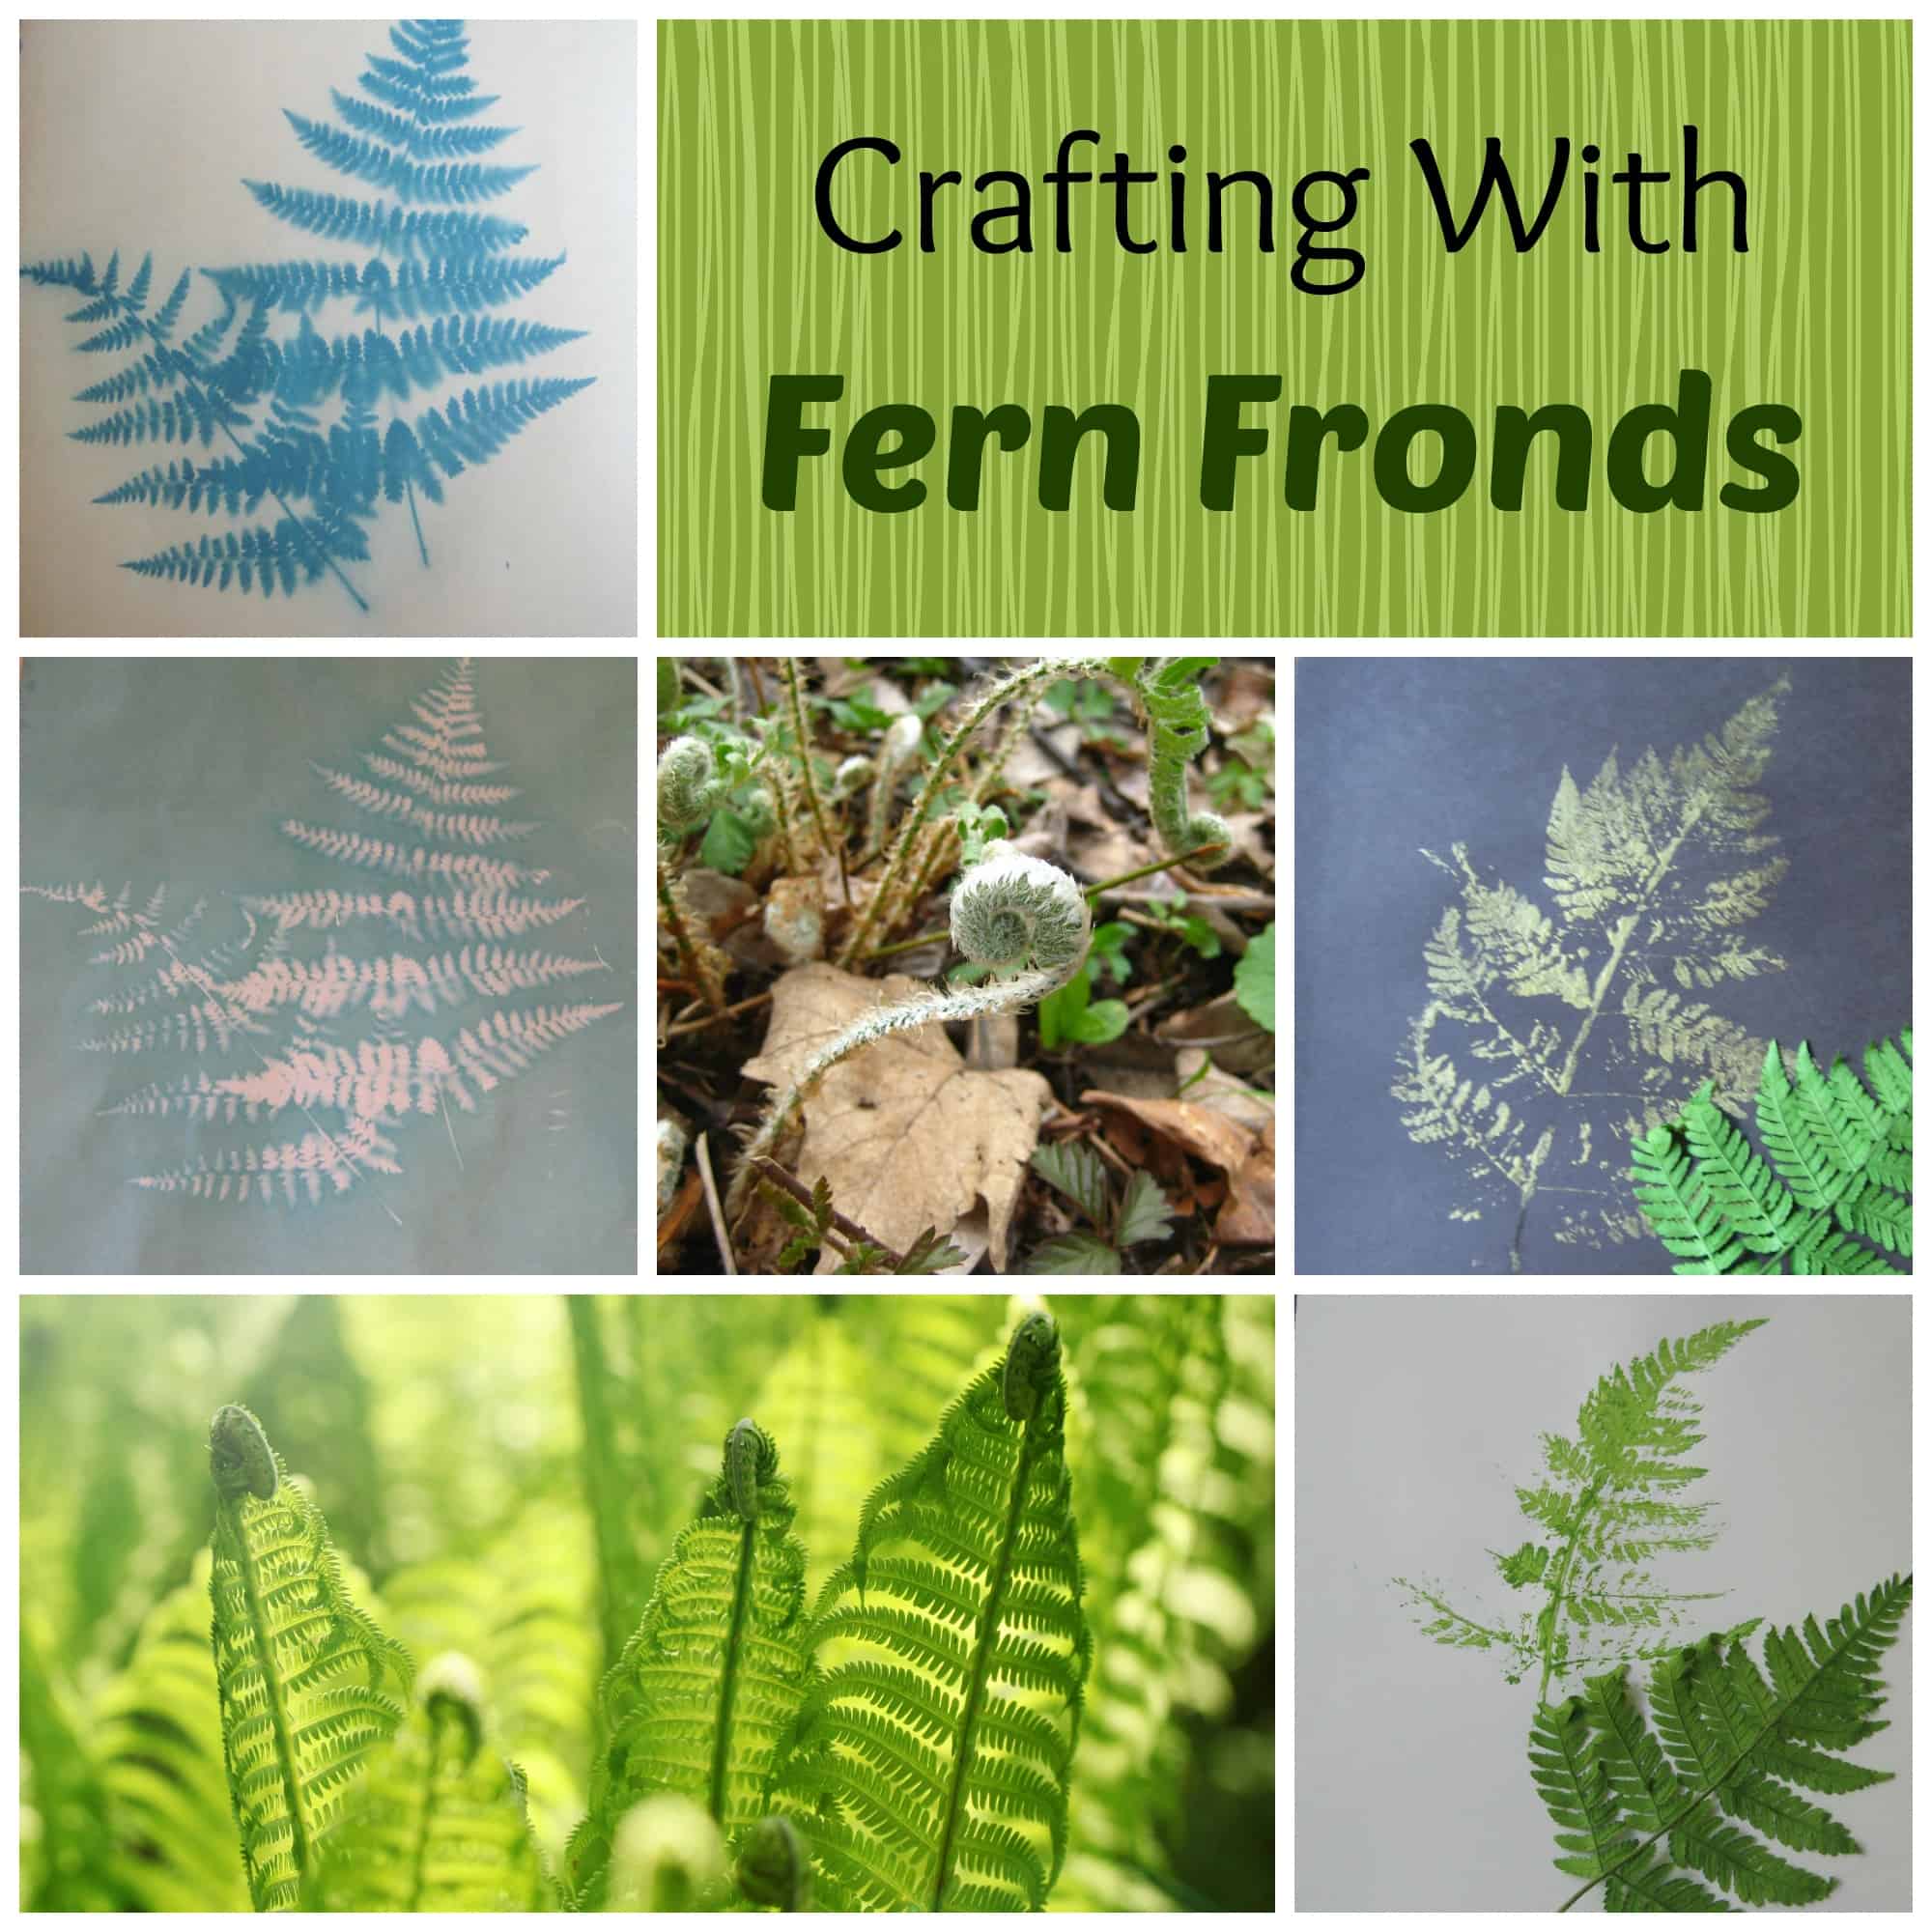
Feeling very industrious, I am going to attempt two projects using fern fronds that will be fairly easy for you to do with your kids.
Fern fronds will be used in both of these projects but if you don’t have any in your landscape, you can use other plants as well. Mom and kid projects must be flexible!
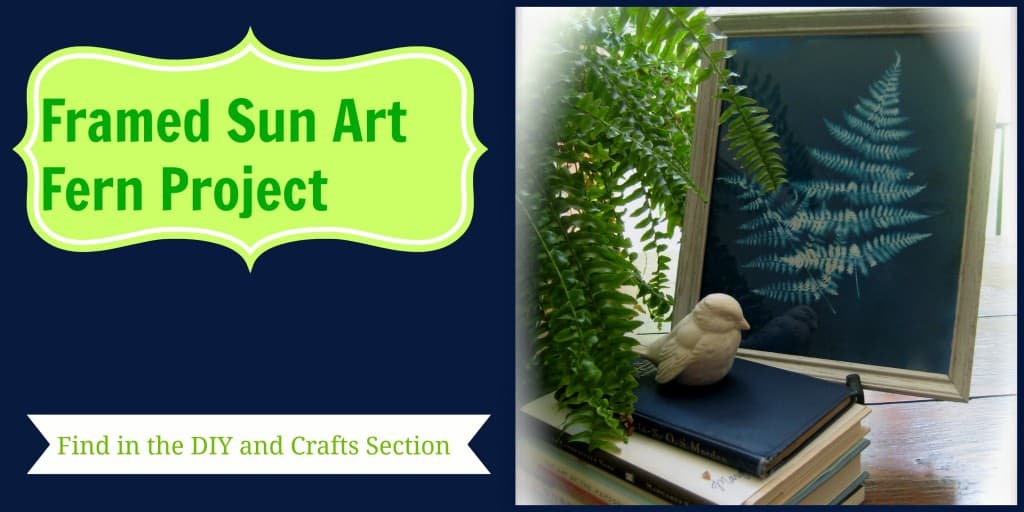
Fern Project #1
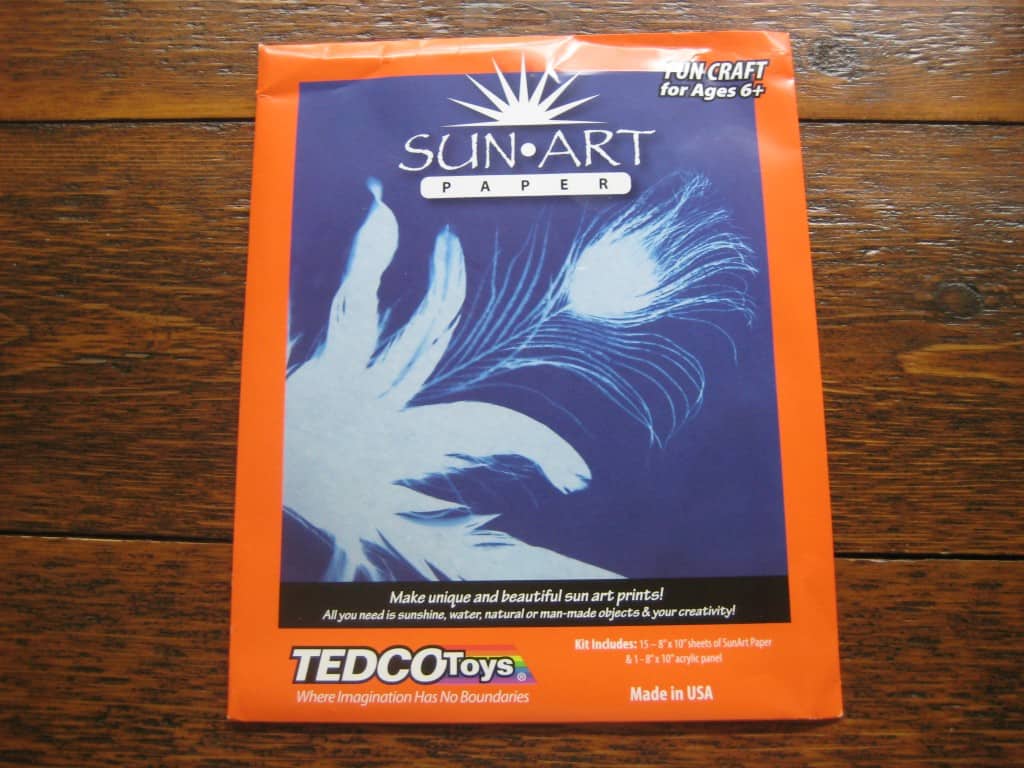
The first project uses SUN ART paper. I purchased mine at Hobby Lobby but it is available at other stores and online sources. The package includes fifteen, 8 x 10″ sheets of SUN ART paper and one, 8 x 10″ acrylic panel. In addition to the SUN ART paper you will need a piece of cardboard and the ferns or other plant material that you want to print.
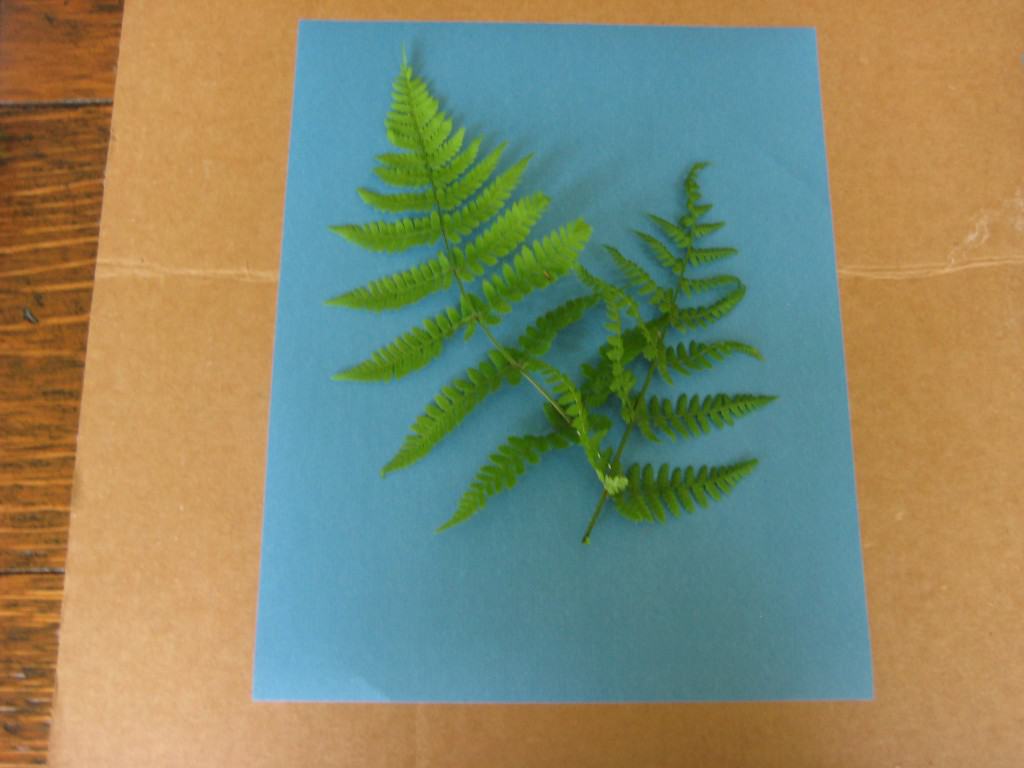
Lay your SunArt paper on the cardboard, blue side facing up. Arrange your fern fronds or other objects carefully on the paper, then lay the acrylic panel on top. The panel secures the items you are imaging. Then carry the entire composition outside and place in a sunny location.

It only takes from 1-5 minutes for the image to appear.
Once the SunArt paper has turned a light blue, carefully take it indoors and remove the acrylic panel, and the items you imaged.
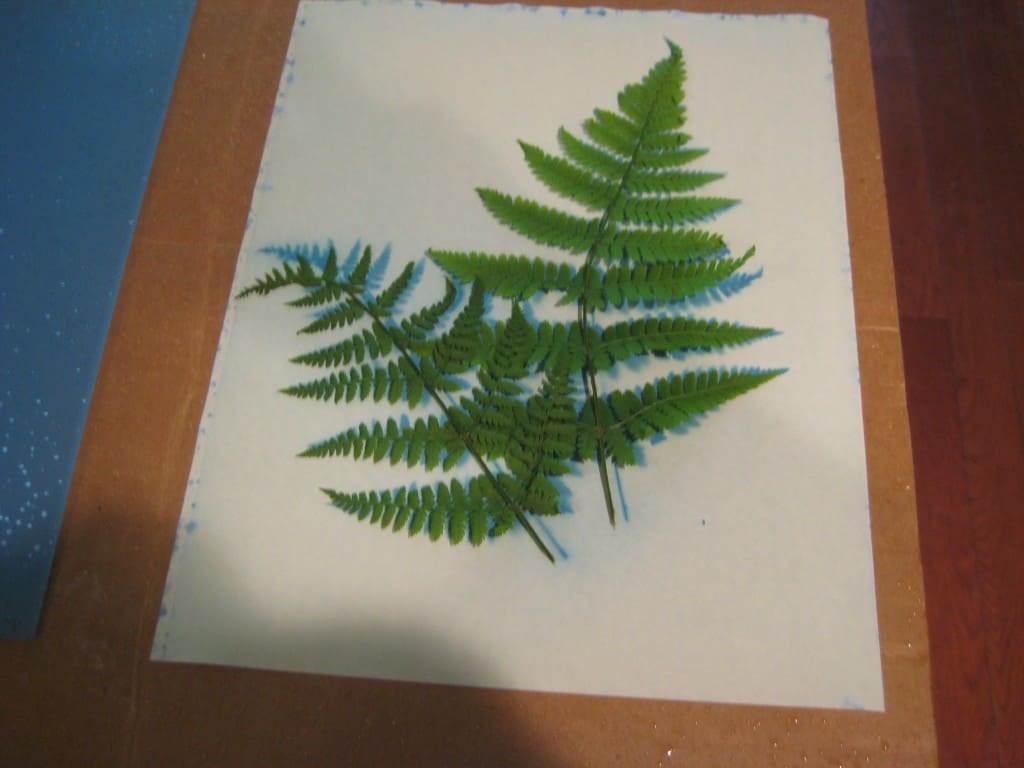
Quickly rinse the SunArt paper with water for about one minute. I filled my laundry room sink with an inch or two of water and gently rinsed for a minute. The image turns lighter during the rinse.

After the paper is rinsed, lay it on a flat surface, paper towels or a regular towel to dry. After it is dry, place it in a large book to flatten. I also tried a low iron setting and I pressed mine. That worked fine.
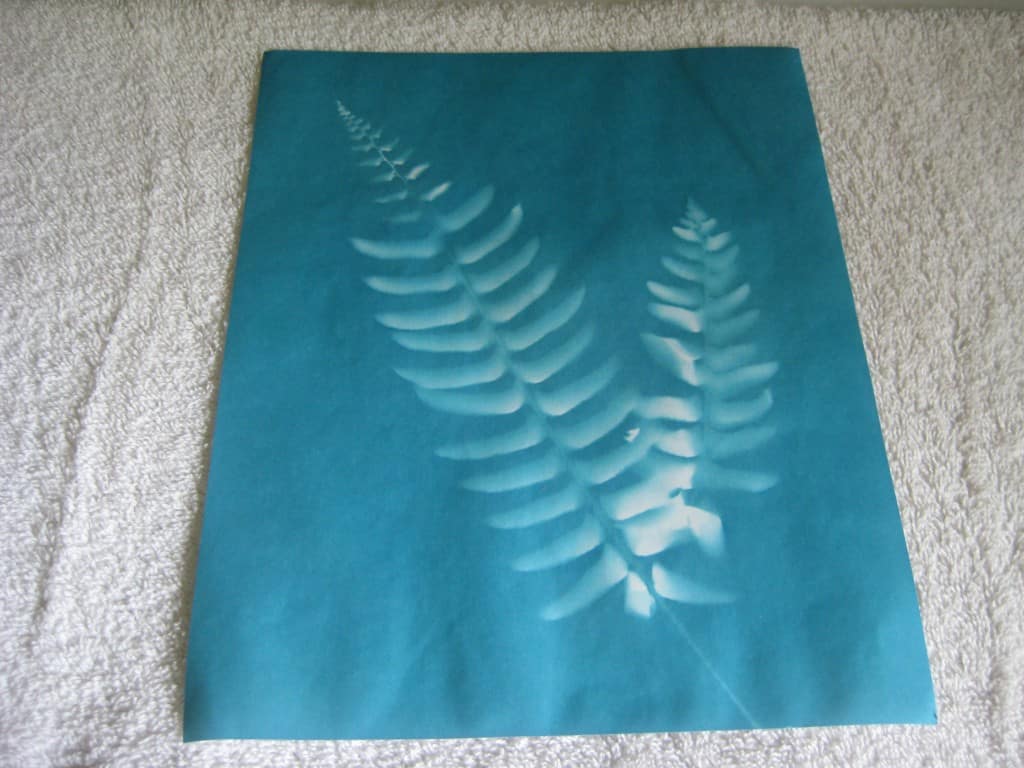
Beautiful result…suitable for framing.
Fern Project #2
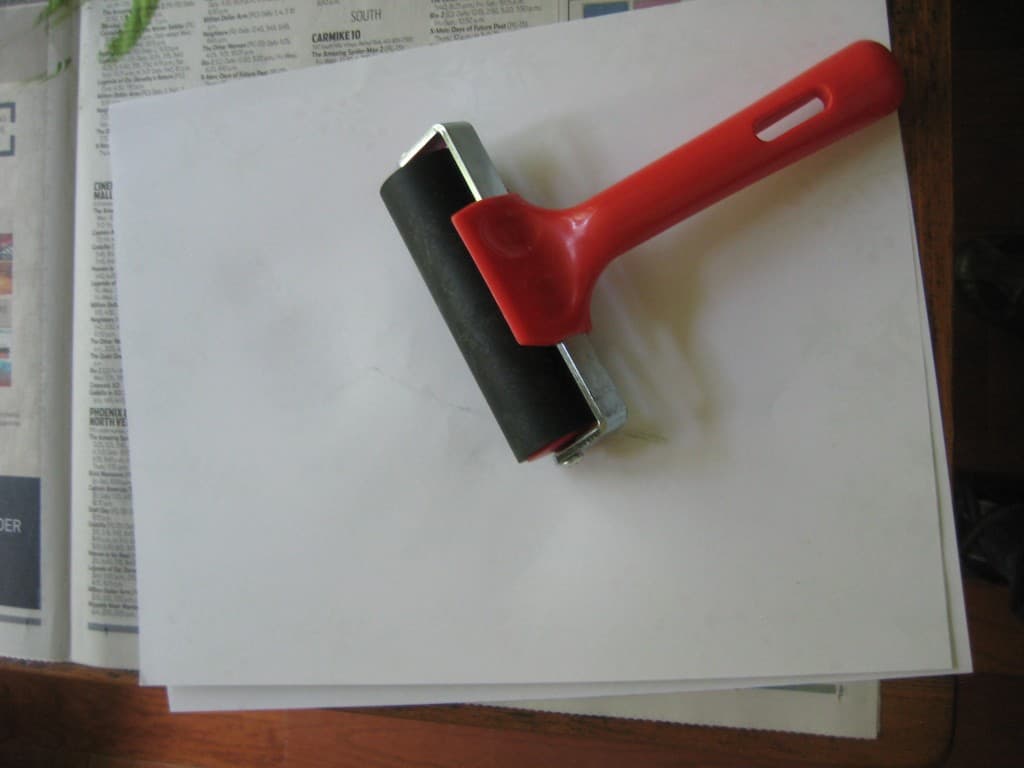
The supplies needed for the next project with ferns are paper, acrylic paint, a little dish to hold paint, sponge brush, fern frond and a brayer. Of course, newspaper to cover your table or other work surface.
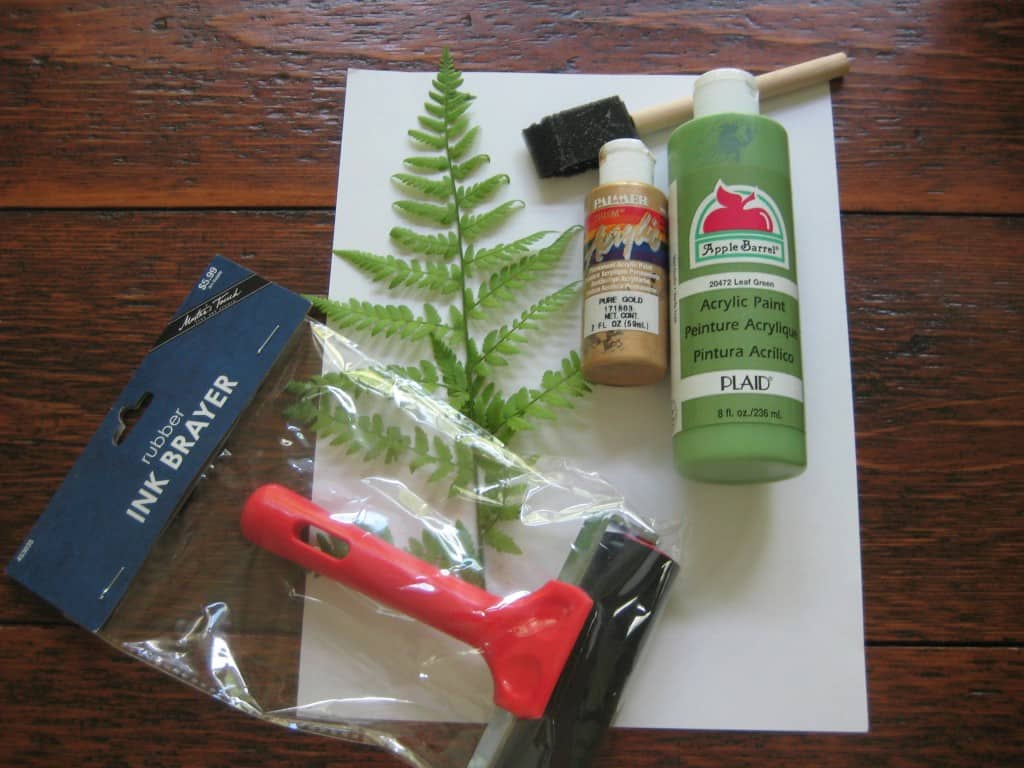
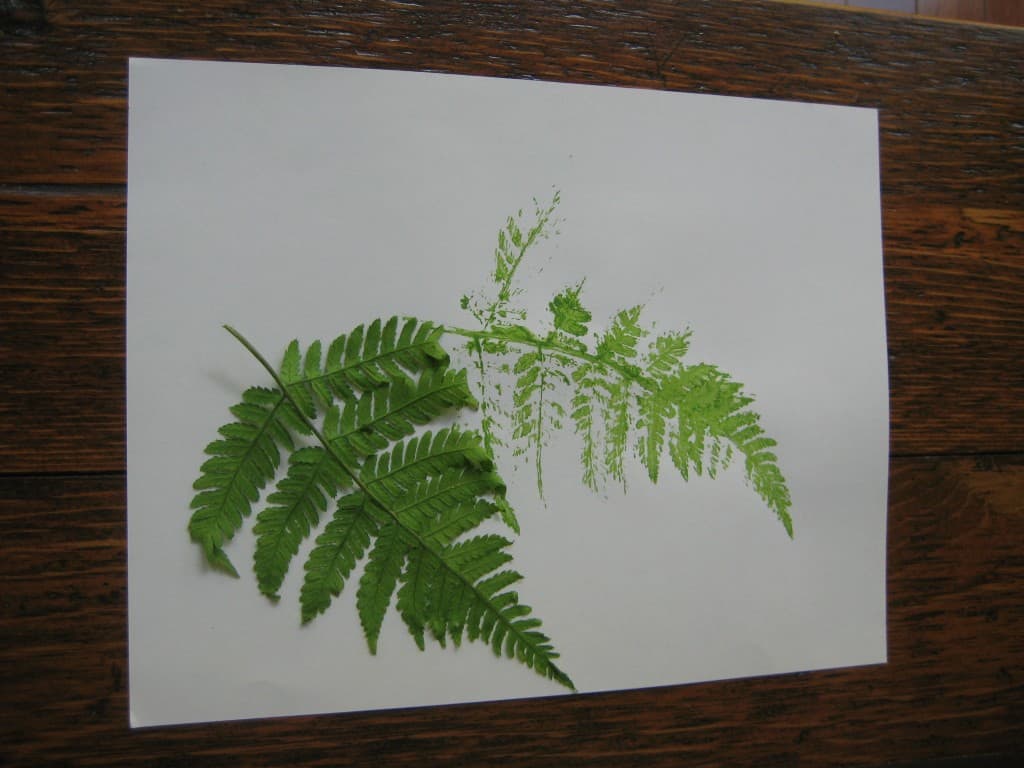
I put a small amount of paint into a little dish, turned the fern over and applied paint to the back side of the fern, being careful not to tear the frond but making sure the frond was covered entirely, especially the stem that runs through the middle.
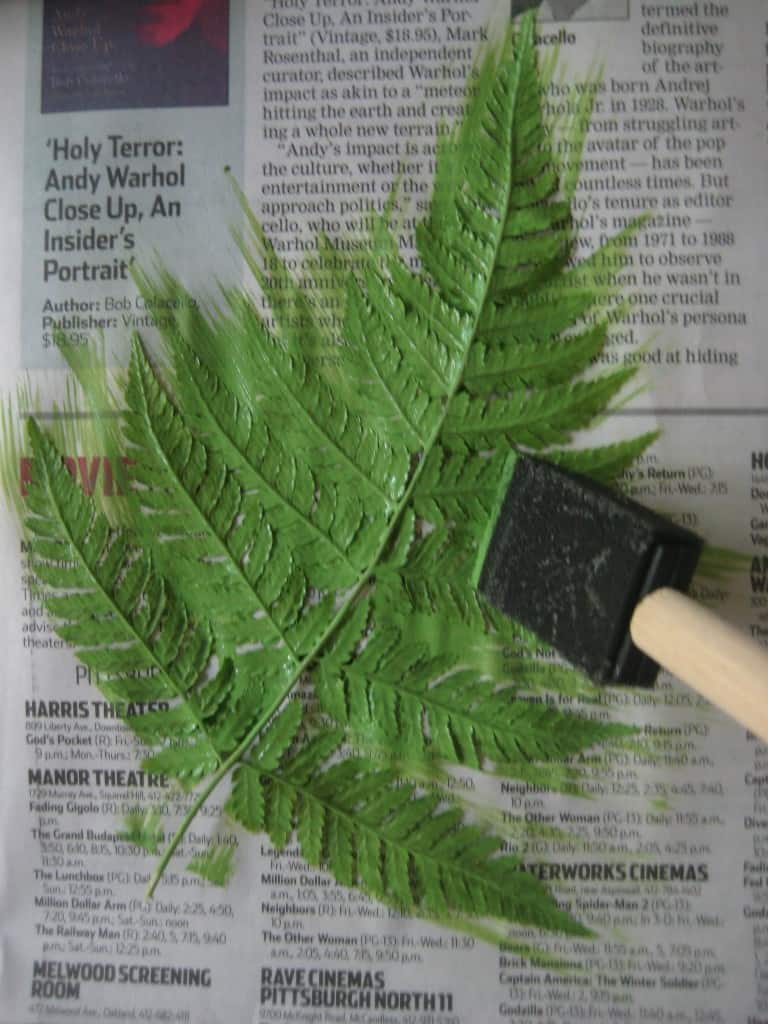
Carefully, lift the fern by the stem and gently pull upwards. As the fern lifts off the newspaper, insert the handle of your paintbrush underneath the fern to add support.
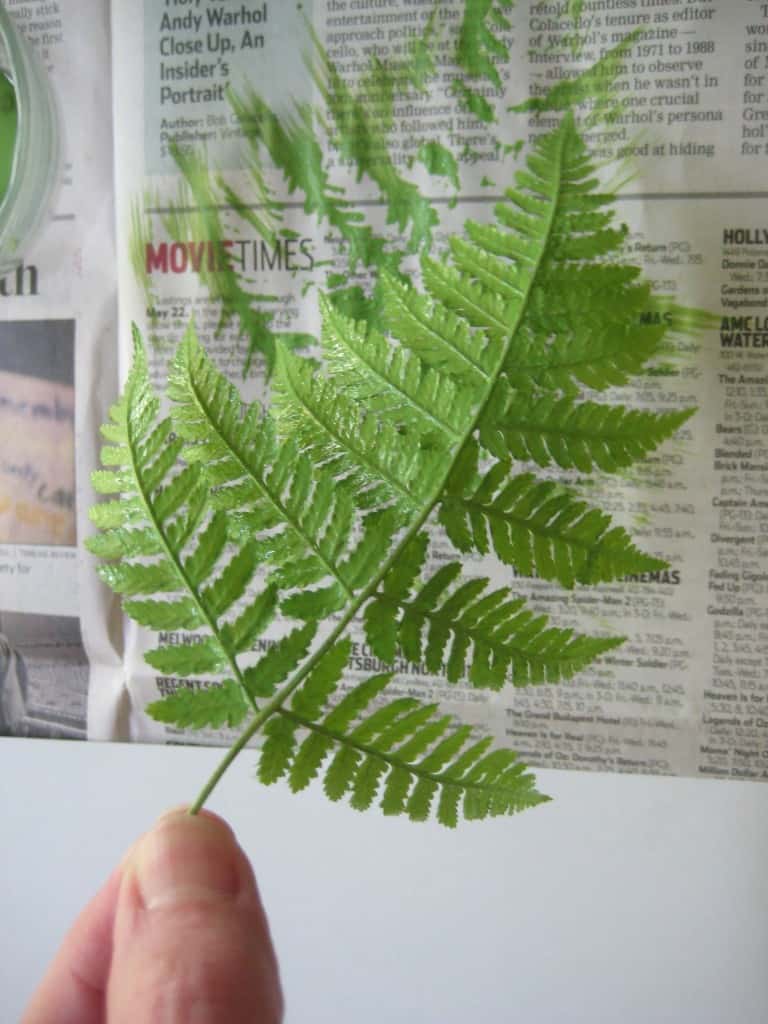
Gently lay the painted fern onto your paper being careful not to move the frond once it has made contact with the paper. Less movement means less smears.
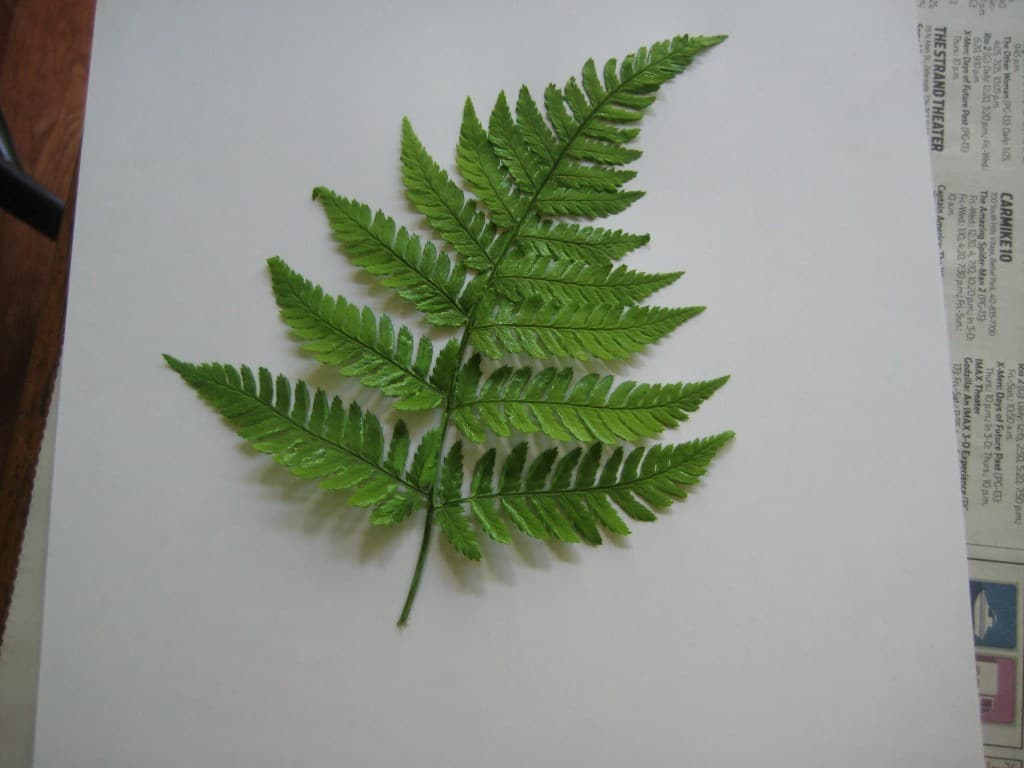
Take another piece of paper and lay it on top of the fern. Roll the brayer gently yet firmly over the fern that is between the paper.
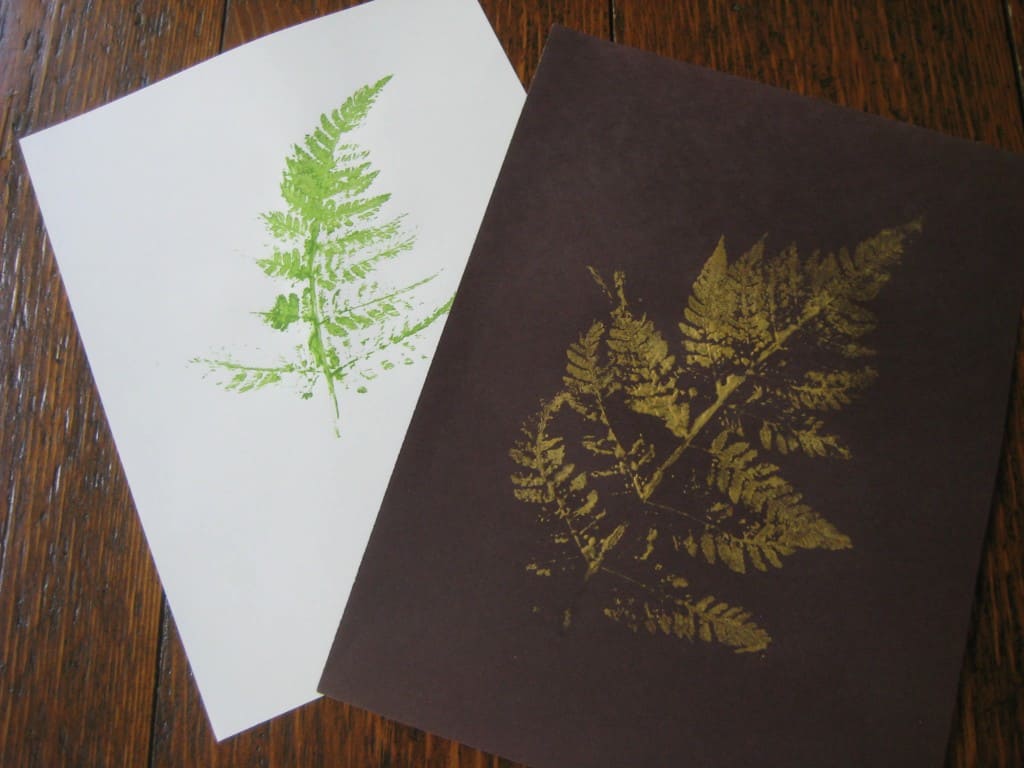
Lift off the top piece of paper and gently lift off the fern frond. A masterpiece, ready for framing! I tried the same method using a black paper and gold metallic paint. I thought the black and gold made a striking print.
Let your children experiment with different plant material and different colors. A hot pink fern…why not!