
Hi there! We use affiliate links where relevant for products that we love. This means that companies say, “hey thanks for telling people about us!” by giving us a small commission as a result (Trust us, guys, it’s SMALL!) That being said, our opinions are always our own. Thanks for reading!
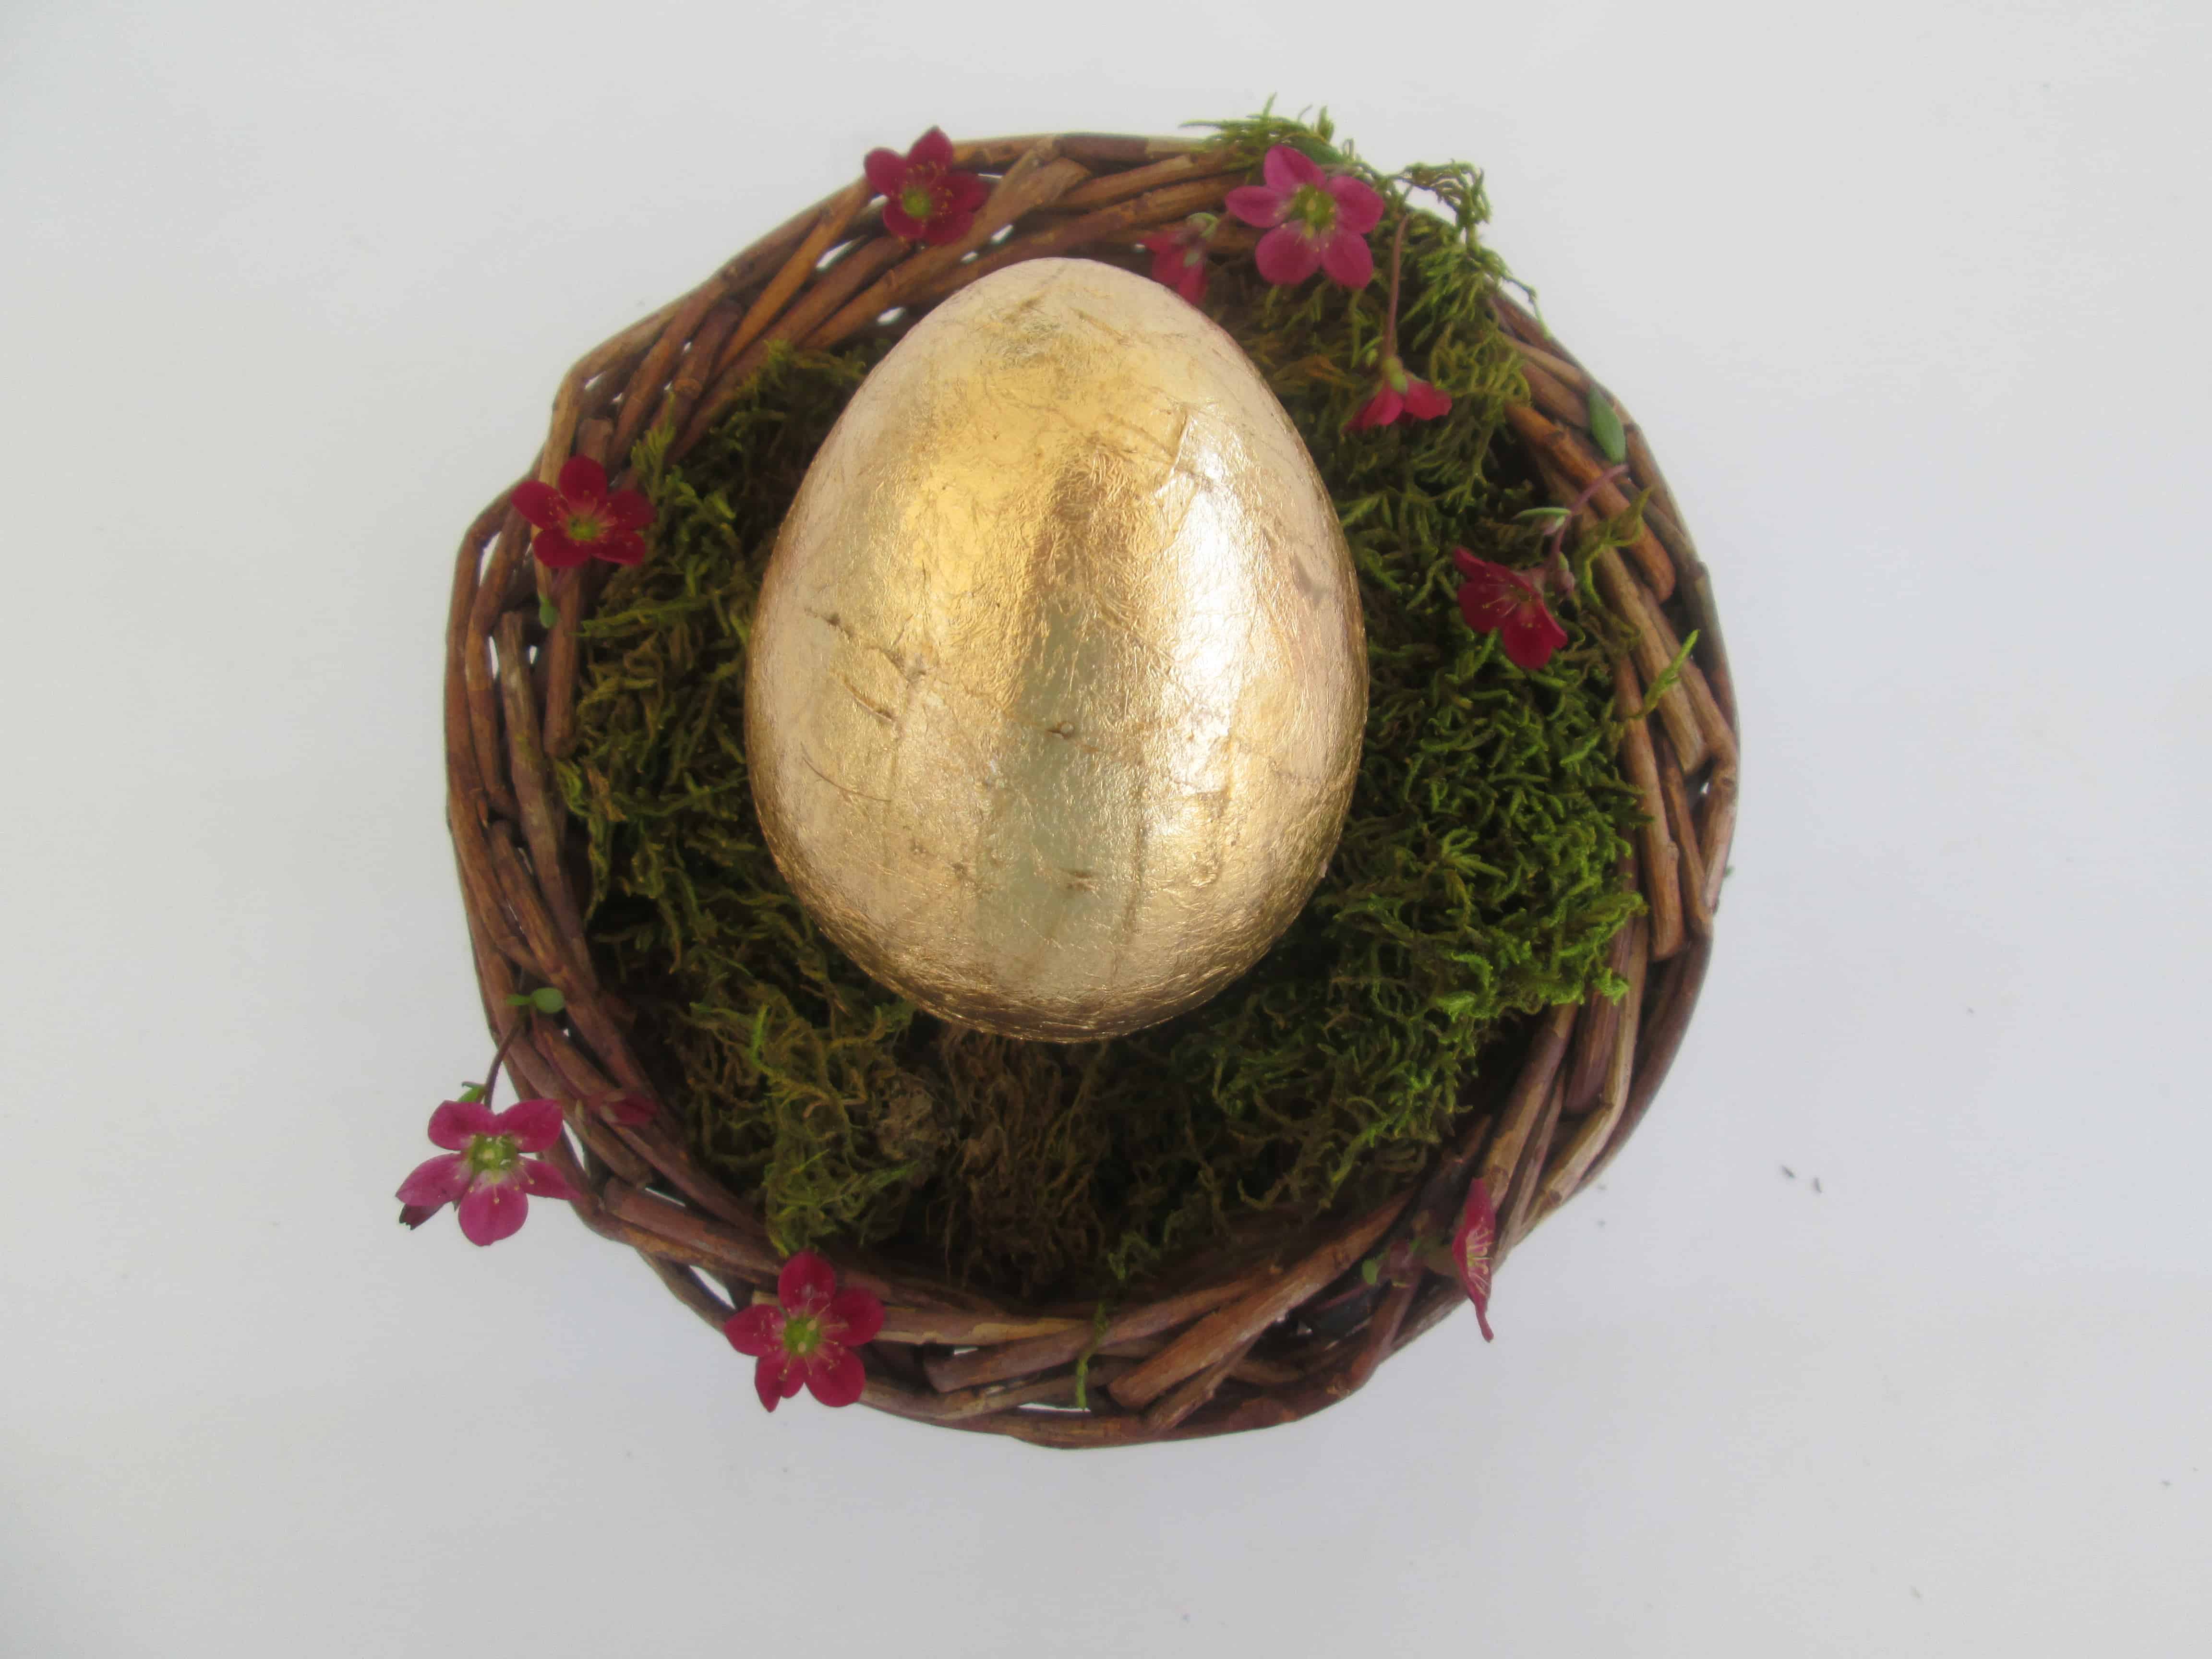
This Easy Easter Décor DIY started out as something else entirely. I bought a Gold Leaf Kit to try out, and had visions of an Easter egg that appeared to be solid gold. Well, it turns out that it is a bit tricky to gold leaf a curved surface. Too bad I don’t have a goose that lays real gold eggs!
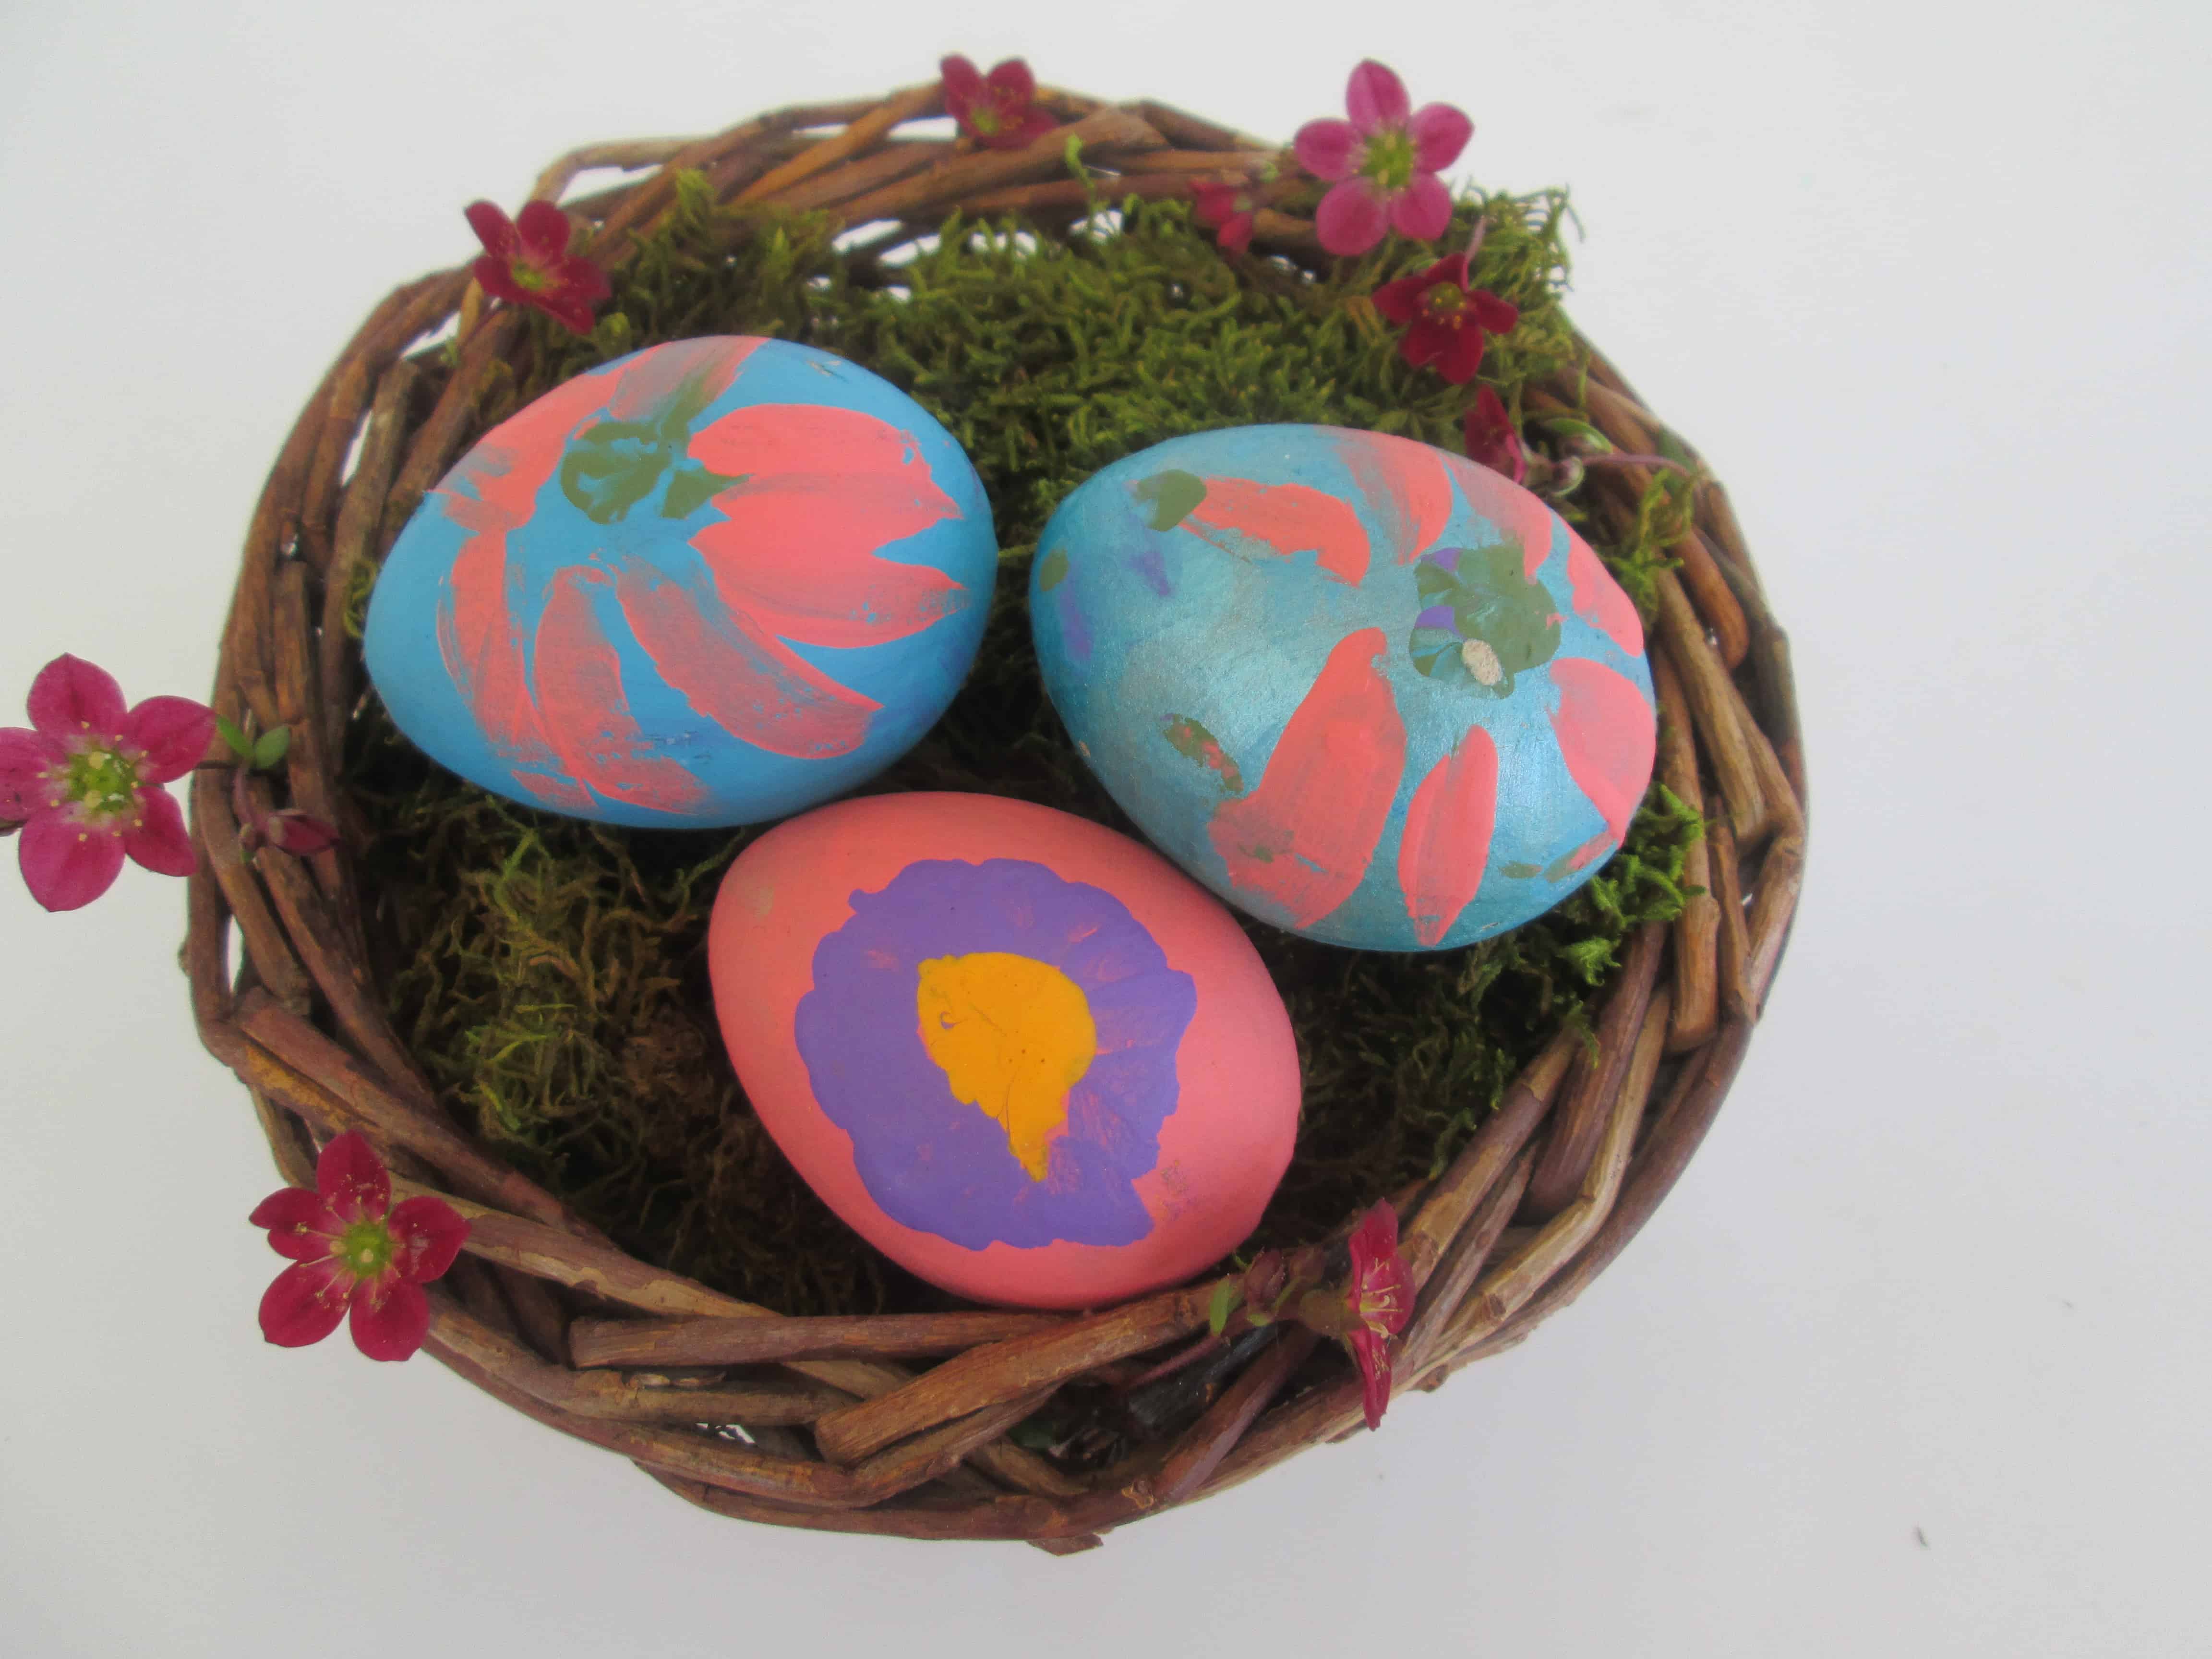
Next I thought, how about gold leaf polka dots on colored eggs? And while my polka dots were very shiny, it took a long time to do, and the polka dot edges were not very crisp, so it looked . . . meh. See how the edges of my gold leaf polka dots are really ragged?
Although these gold leaf projects did not turn out quite as I had hoped, I really thought that the Gold Leaf Kit was really fun to work with (and it was only $13!), so I would like to try it out on something else. Any ideas? Leave me a comment!
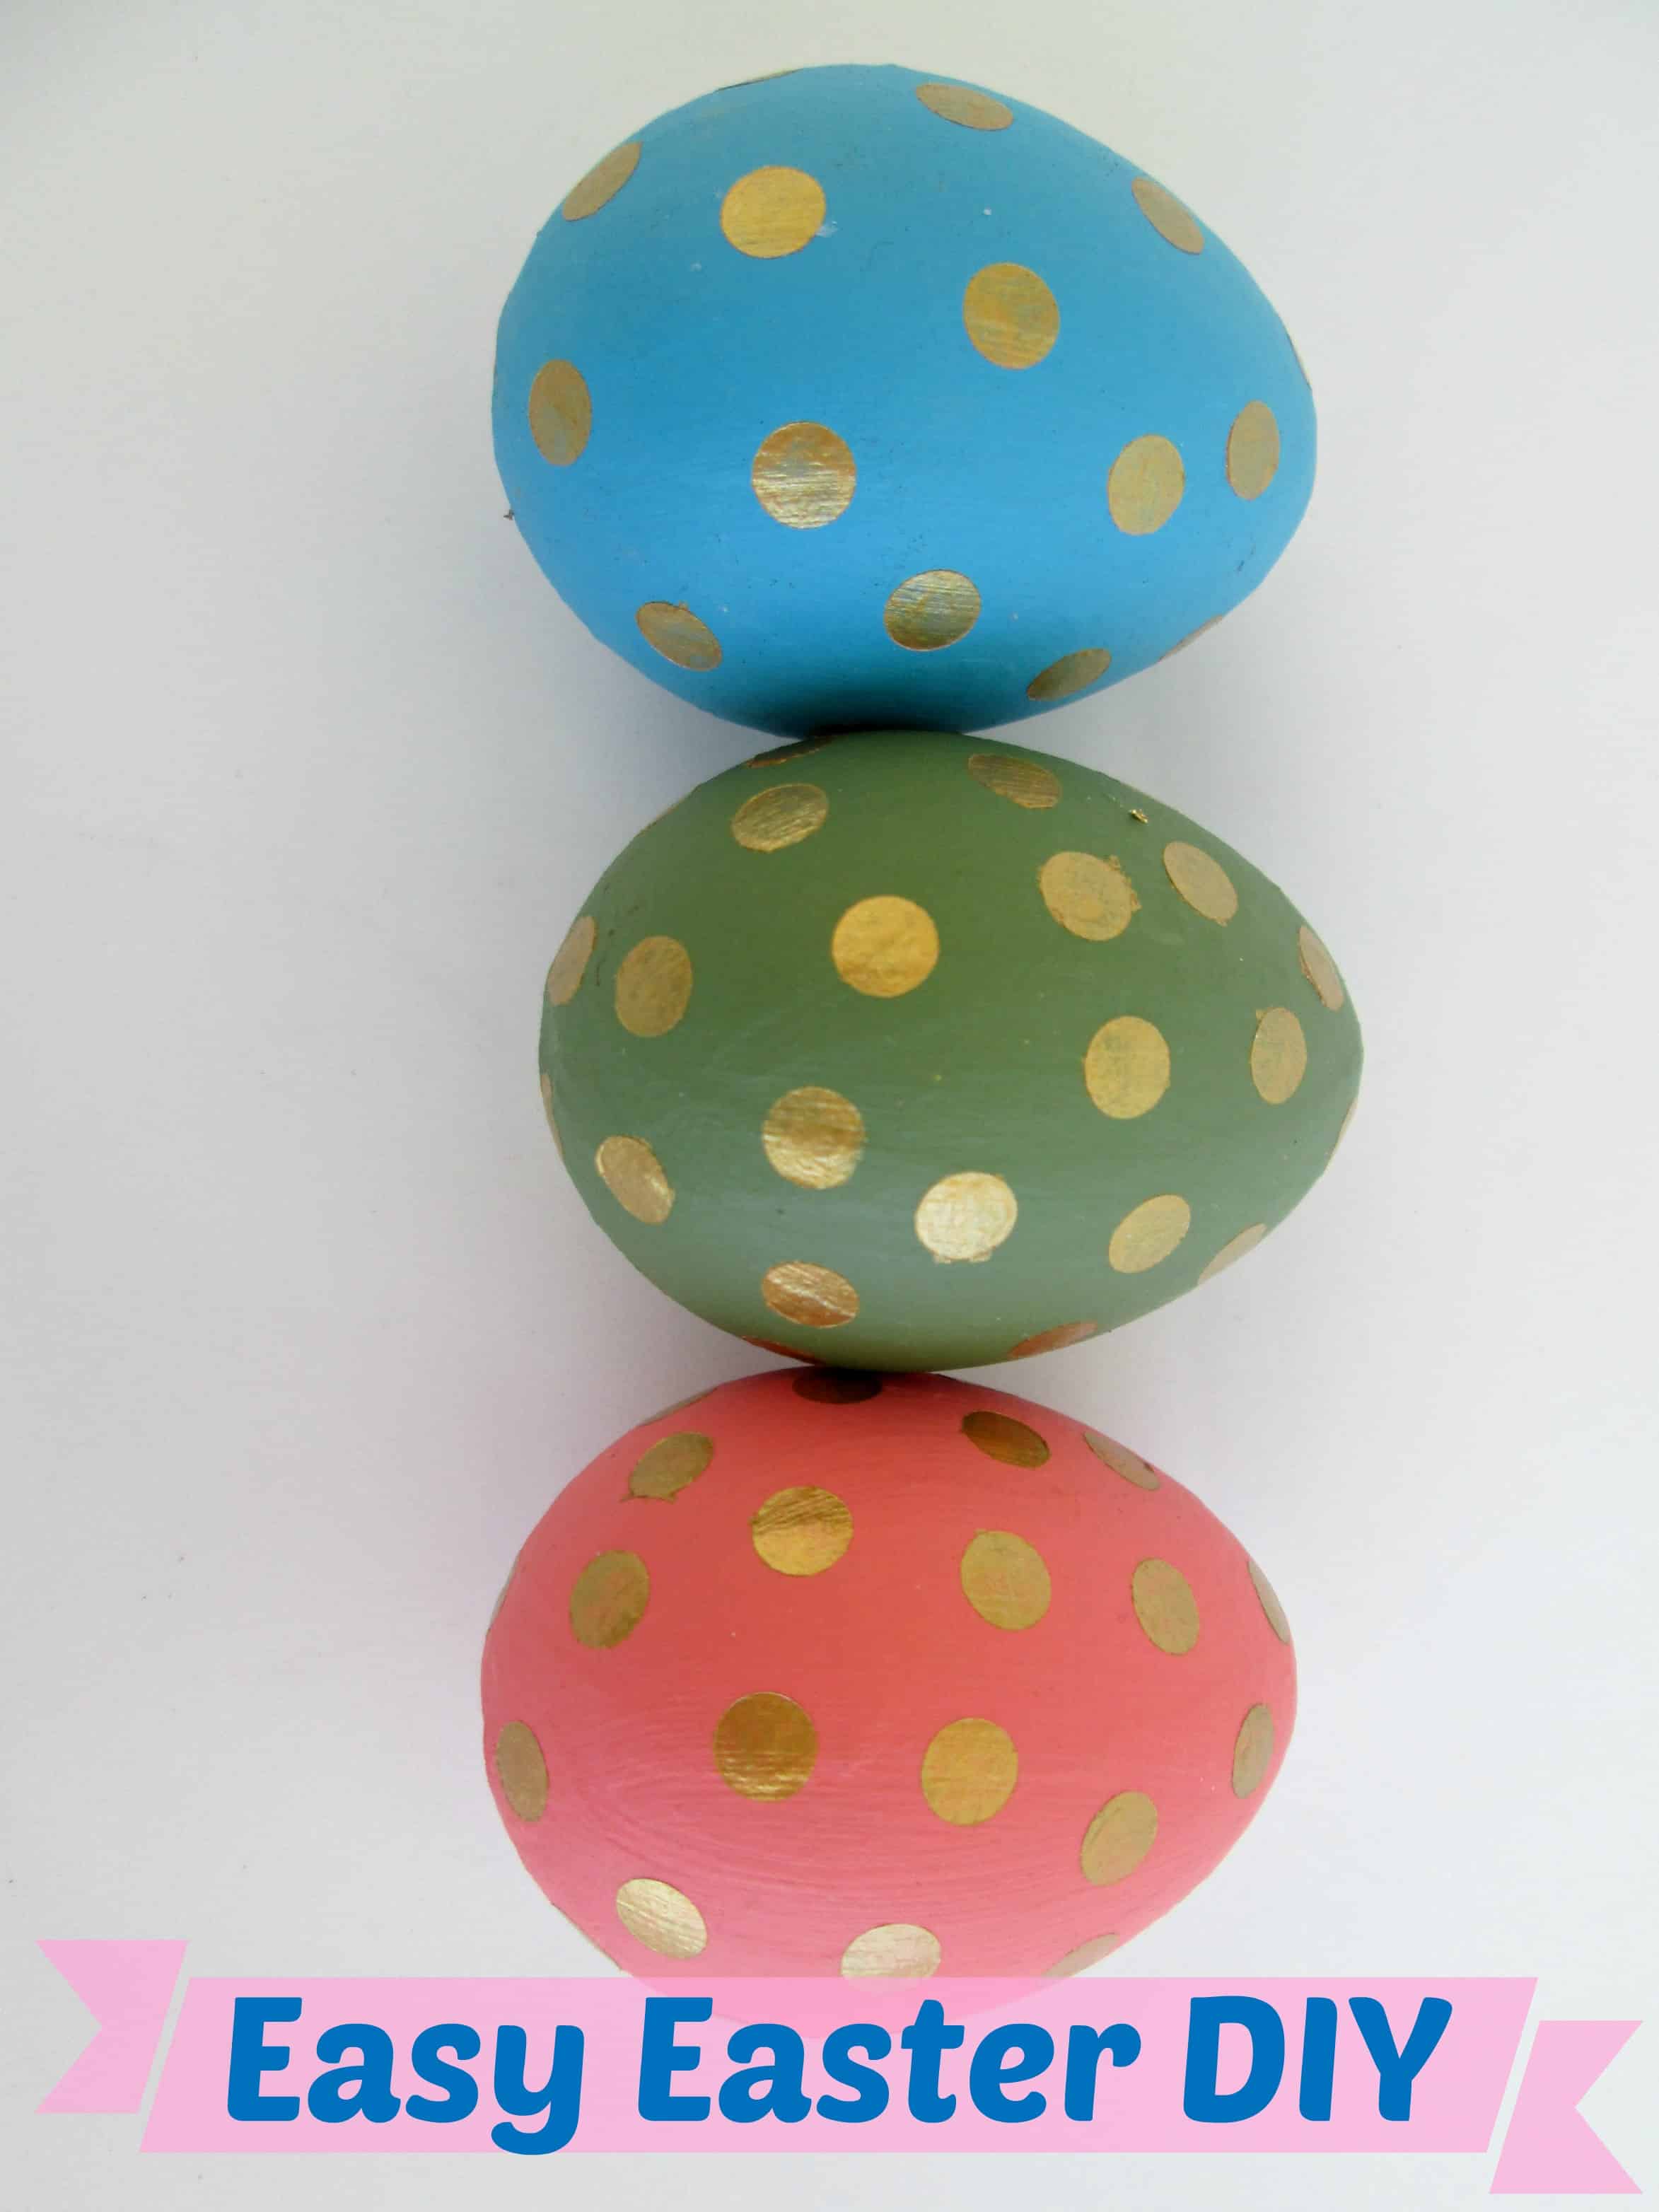
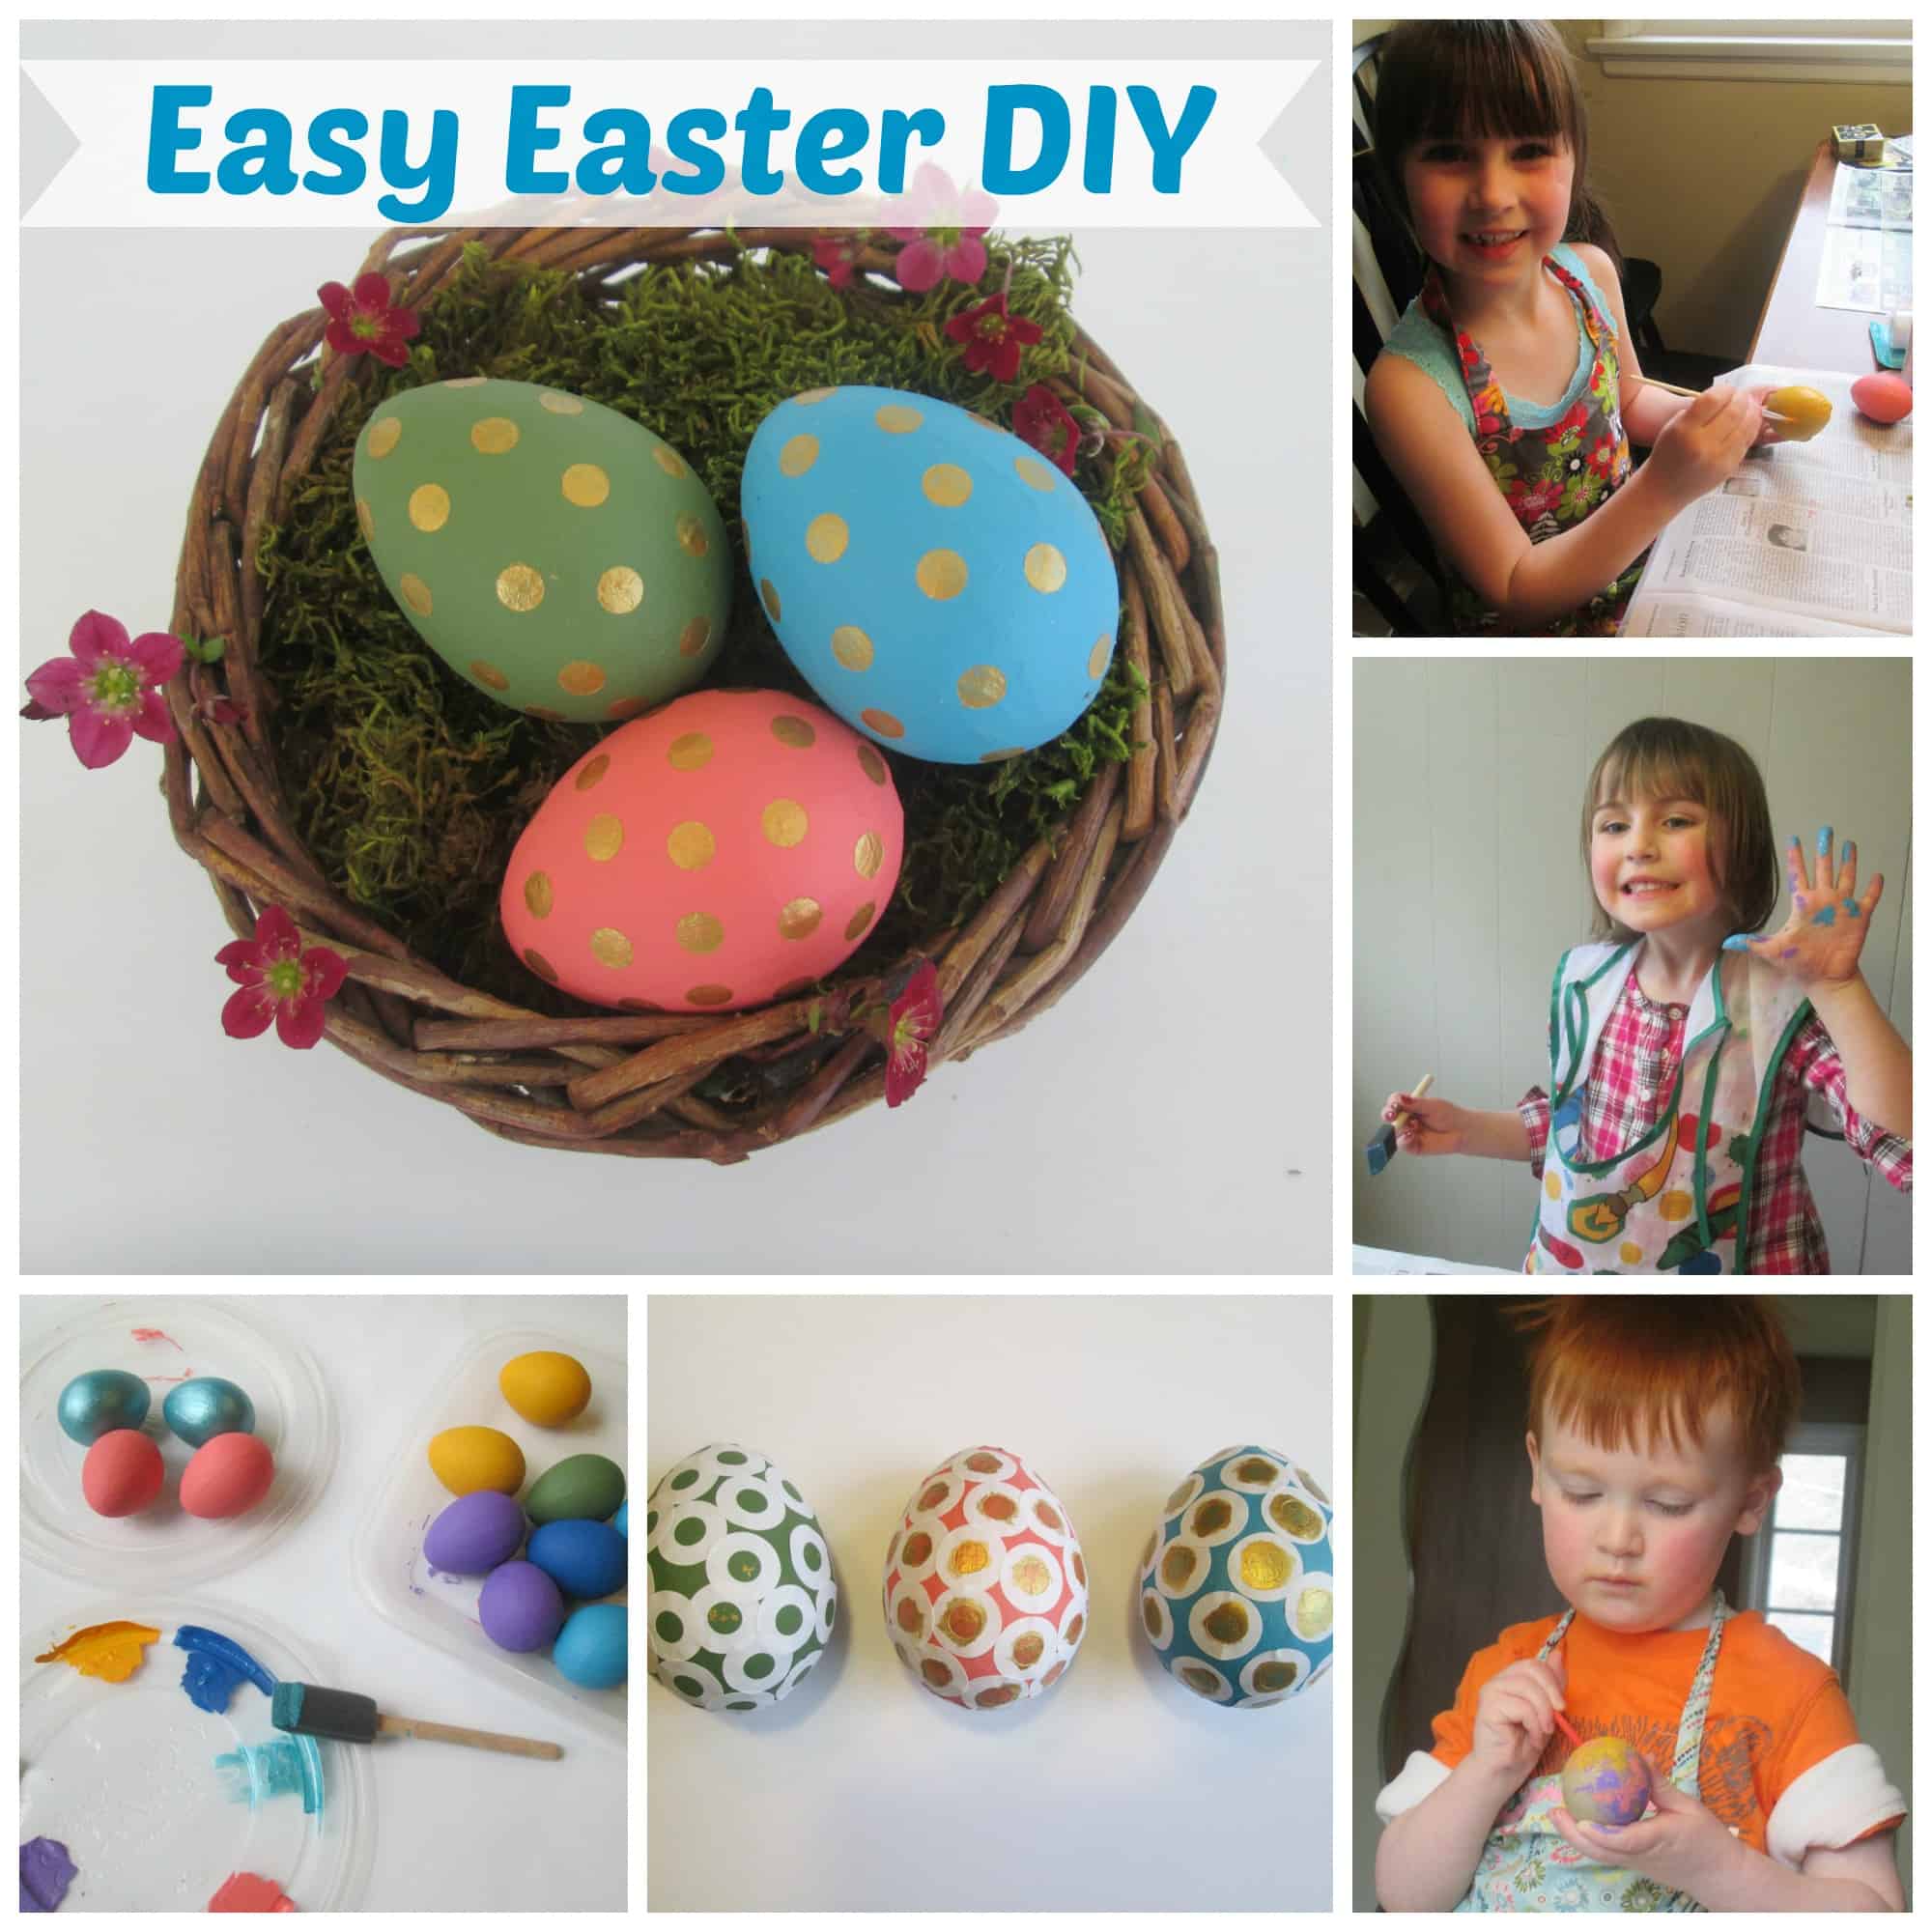
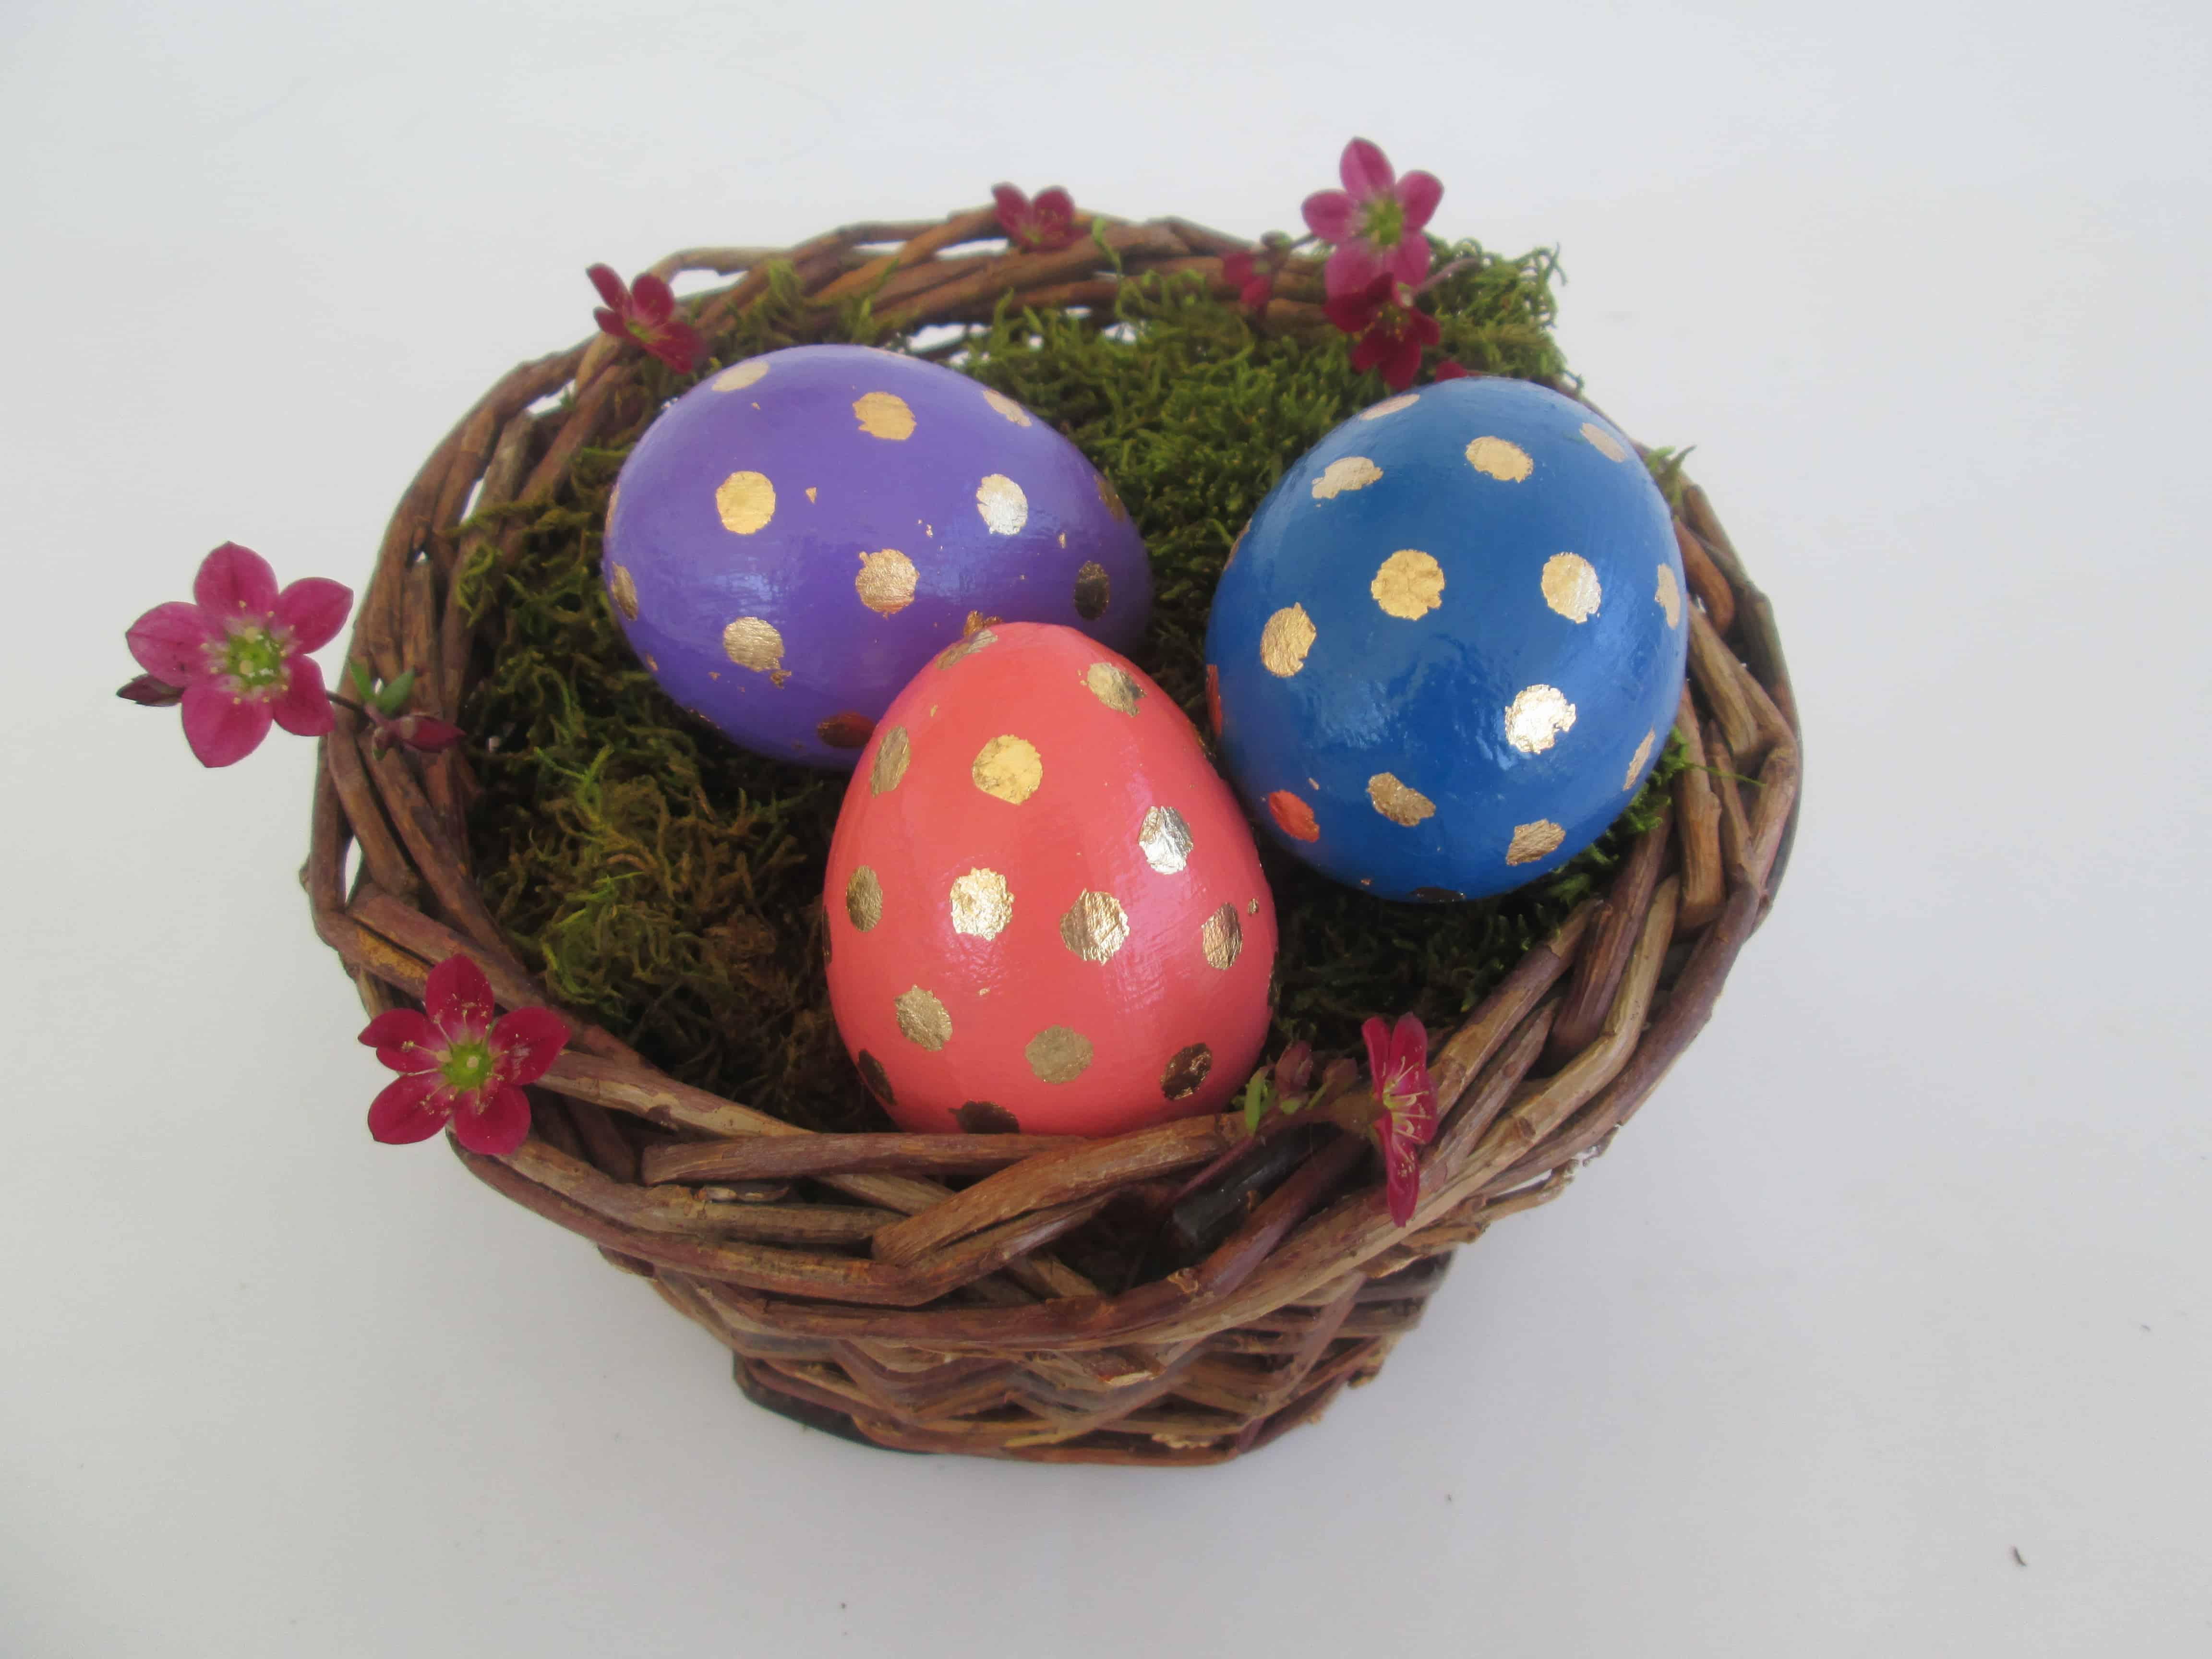
The rabbit holes described above however led me to my very easy Easter DIY project described in this post. The kids were able to get into the fun painting their own eggs, and I was still able to have my polka dot eggs, this time created with just paint. In addition, these are Easter décor items I can use year after year. These are the materials you will need; paper mache easter eggs or wood eggs (I used paper mache), acrylic paint in your choice of colors, a metallic acrylic paint if you want sparkly polka dots, paintbrush, and reinforcement labels. I was able to buy everything from local craft store, Pat Catan’s.
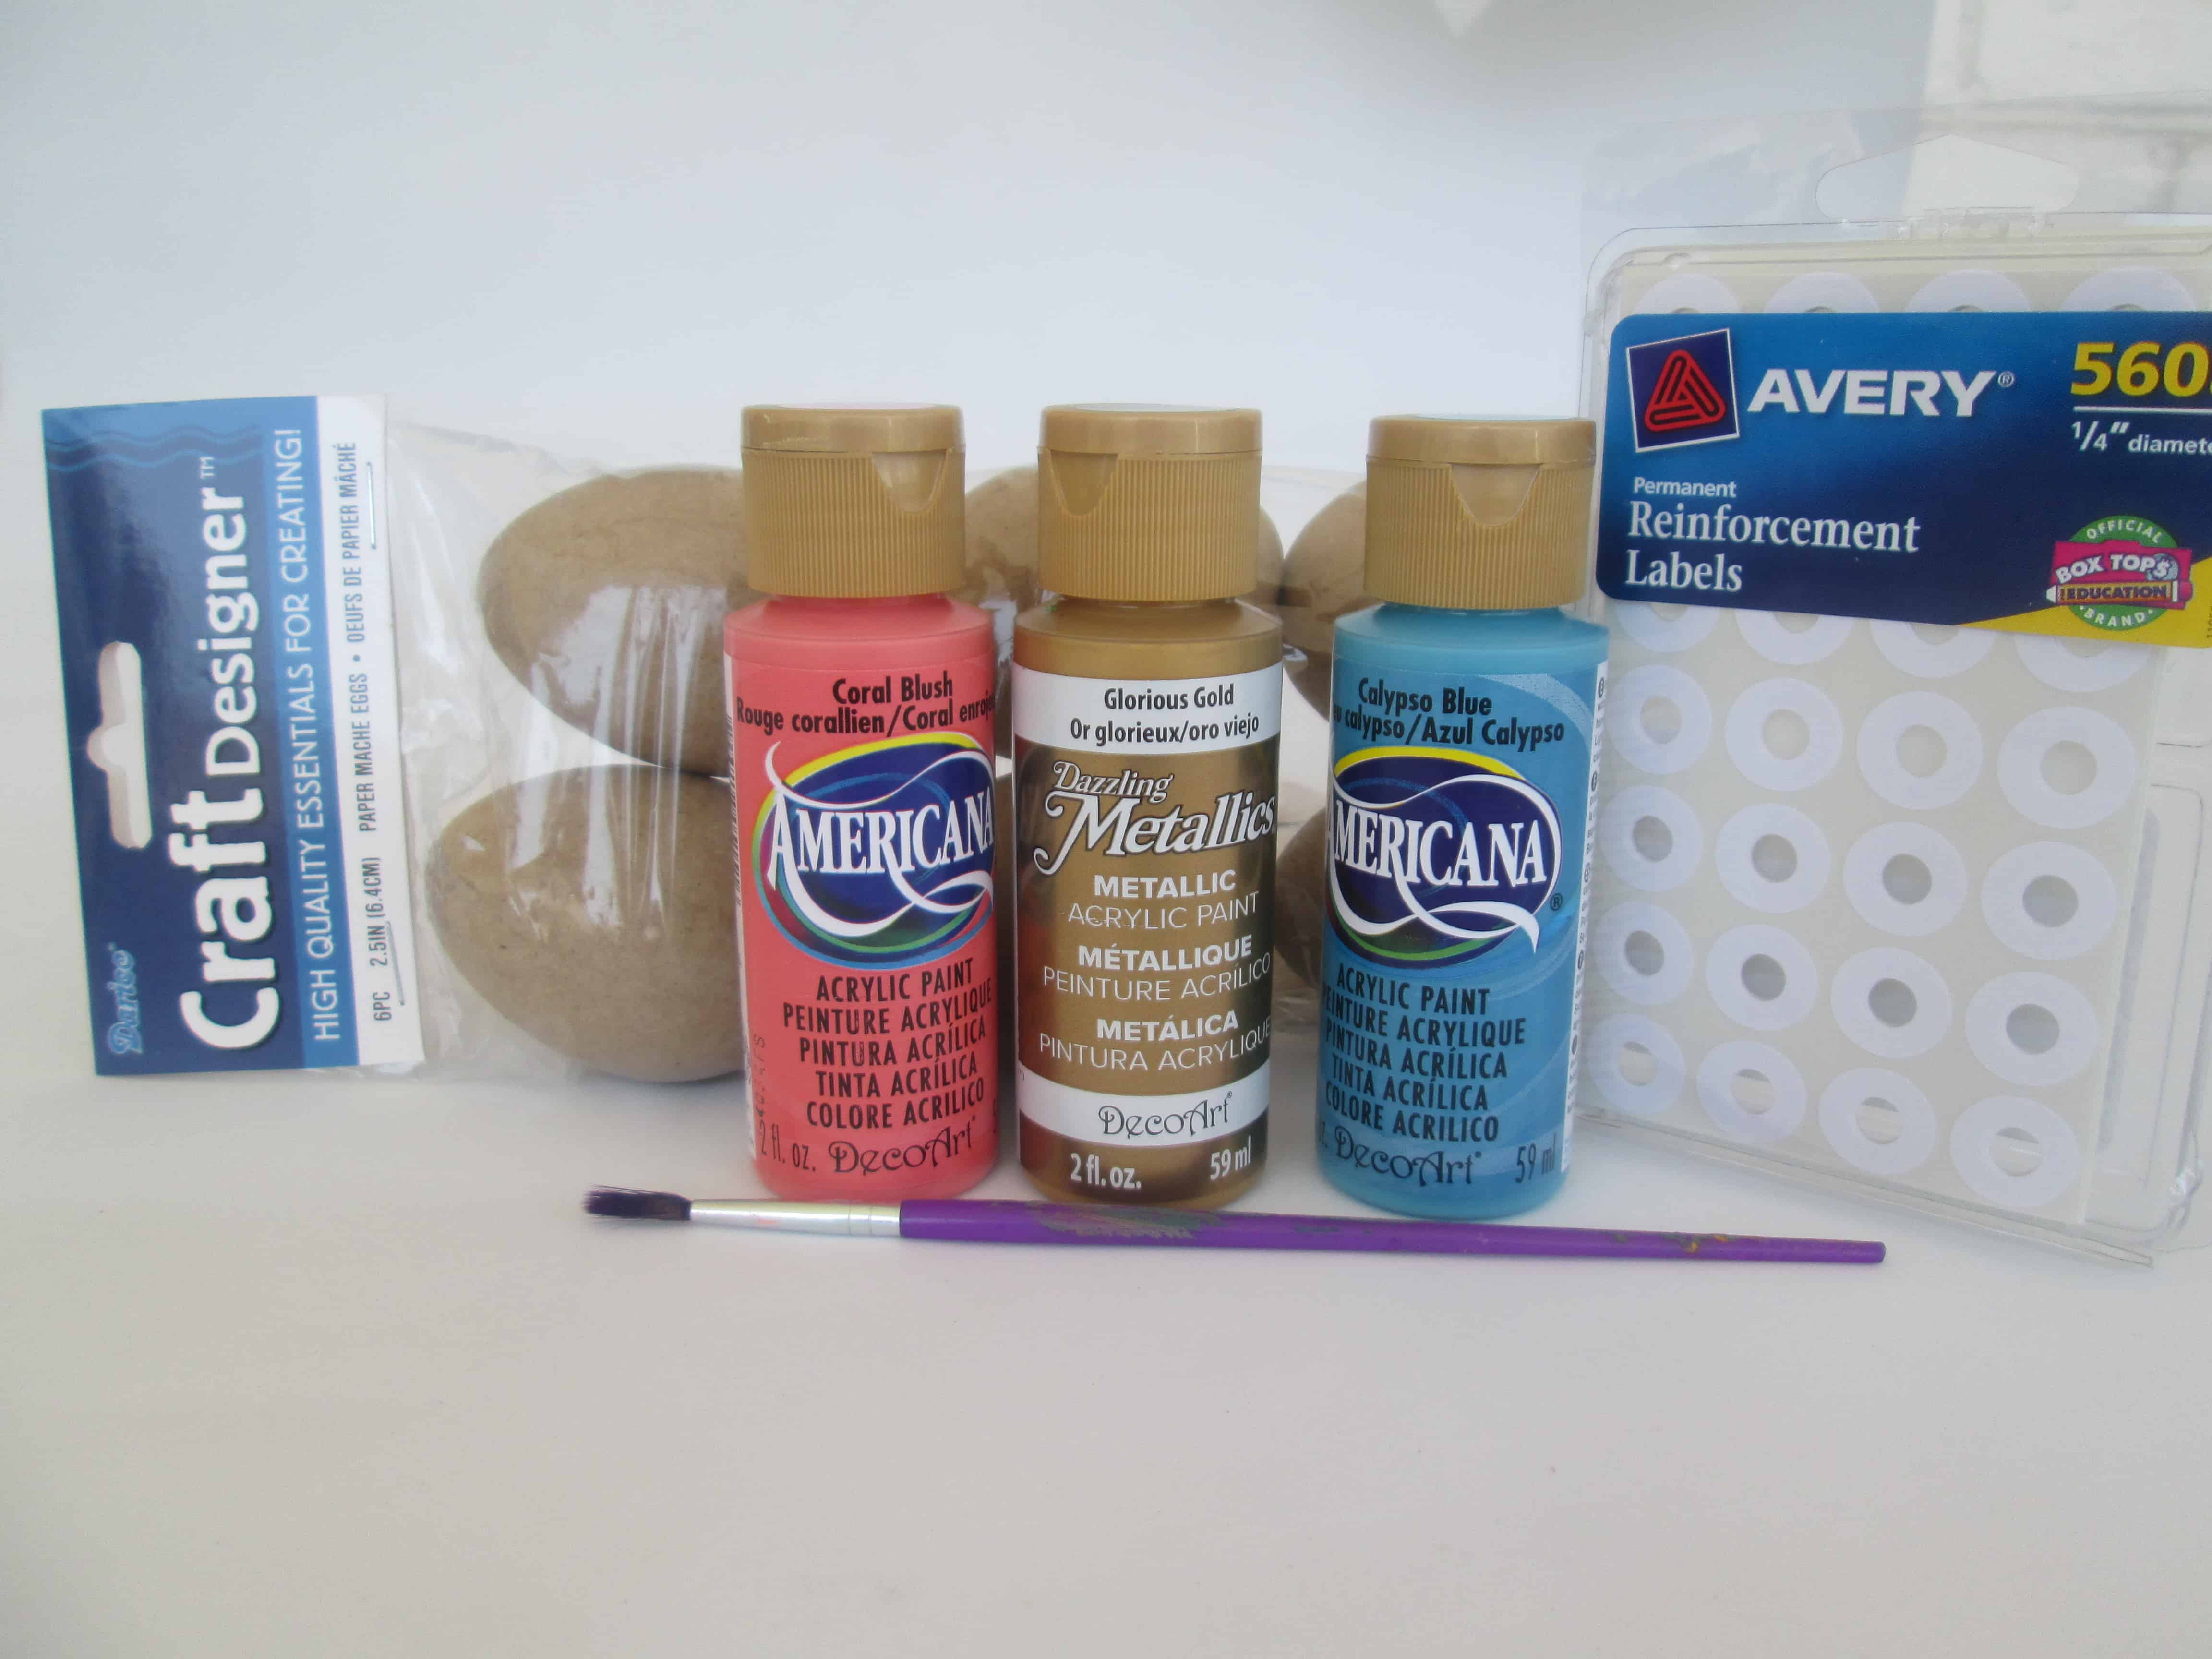
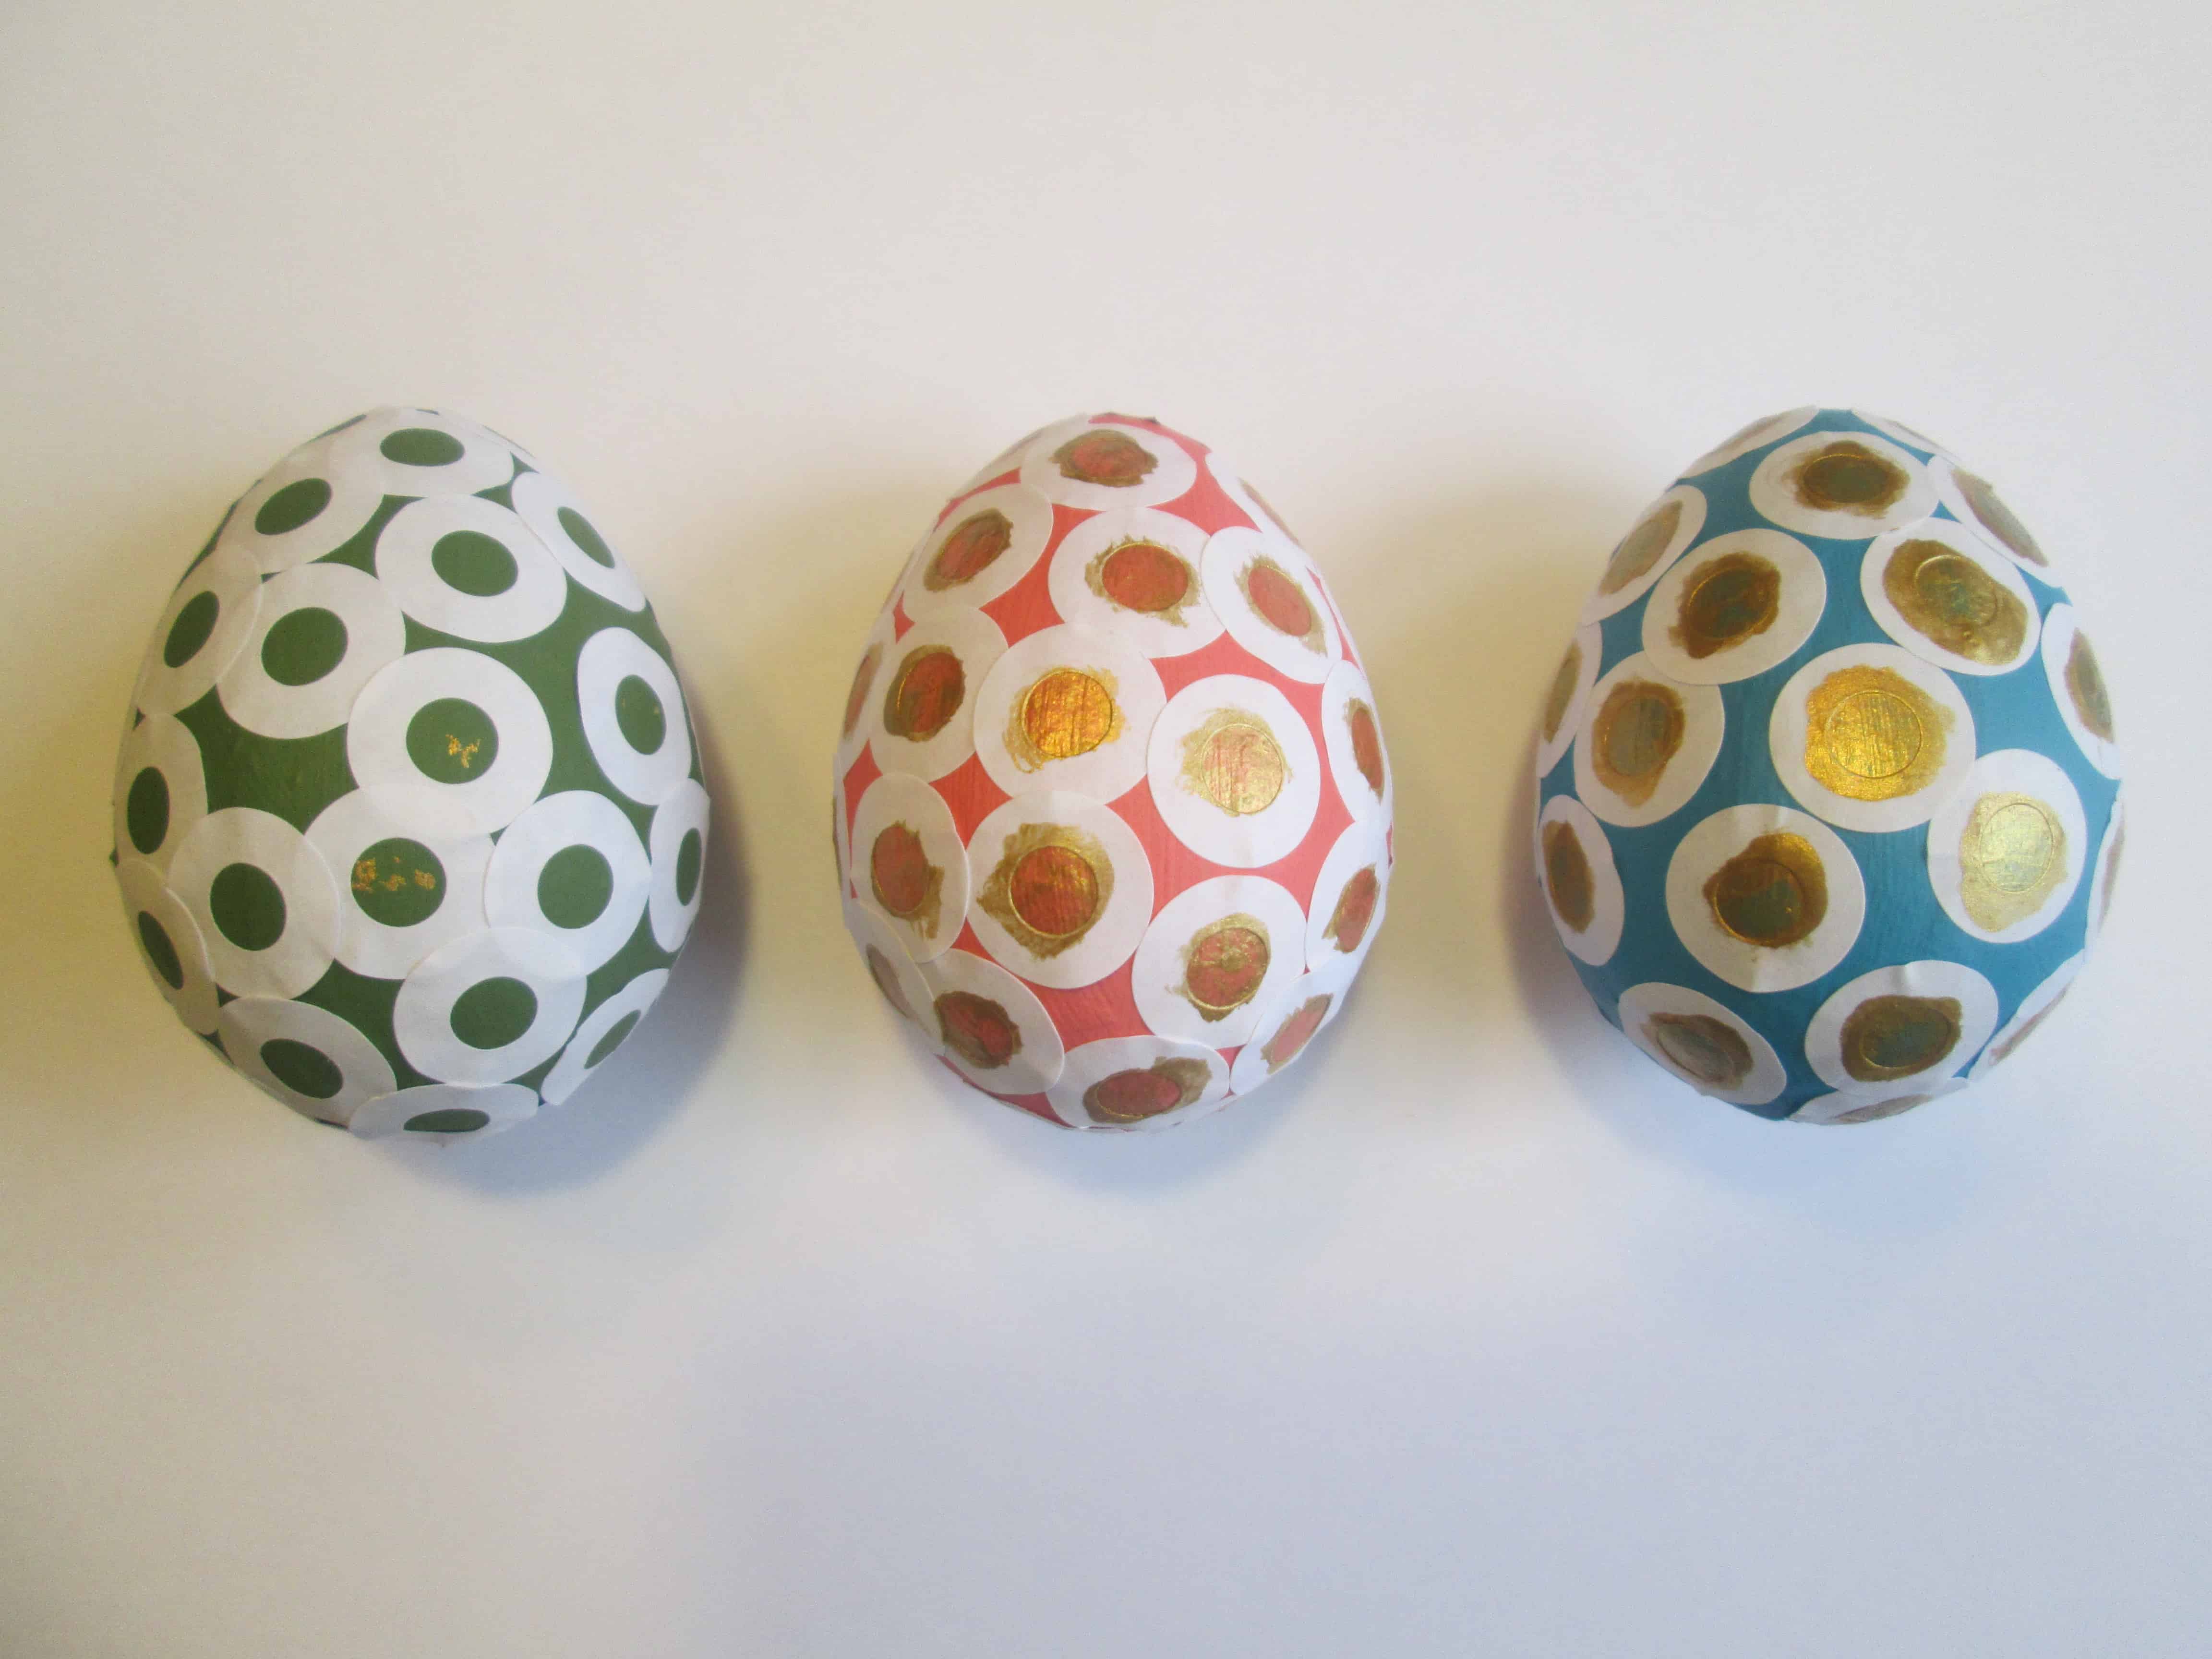
Begin by painting your eggs with the acrylic paint color of your choice. I was happy to find that the paint dries very quickly. By the time you paint all of your eggs with the first coat, they will be dry enough to go back around and paint a second coat, which I highly recommend. Once you are sure the second coat is dry (my eggs were very dry), apply the reinforcement labels to your egg to act as a stencil for your polka dots. At first, I was afraid that when I peeled off the labels that it would peel off paint, but it didn’t. So I pressed the reinforcement labels very firmly onto the egg to make sure I had a good seal around the inner edge. You will need to put on more labels than you think to cover a small egg. I applied close to 40 labels per egg. If you prefer to have a more spread out polka dot appearance you can apply less. Once your labels are on, paint in the center of the reinforcement label with your metallic paint. I chose Glorious Gold. I also recommend a second coat of this as well. This picture shows my painted eggs with just the reinforcement labels, one coat of gold, and then two coats of gold.
When everything is dry, remove your labels, and you are done! It goes super fast, and the kids worked on their own eggs while I worked on mine, so we all had fun. Here are some eggs the kids painted. They did a really good job, and make such cute Easter decorations.
I still need to apply a sealing coat to my eggs so that they will last for years, but I haven’t done this yet. If you like this Easy Easter DIY, pin it to your Easter Pinterest board, and then let me know if you give it a shot.